Last updated November 17, 2026
Free written scope consultation - allowances, timeline, and change-order rules on paper before a single trade is scheduled
DIY vs Professional Windows & Doors: What’s Safe to Do Yourself
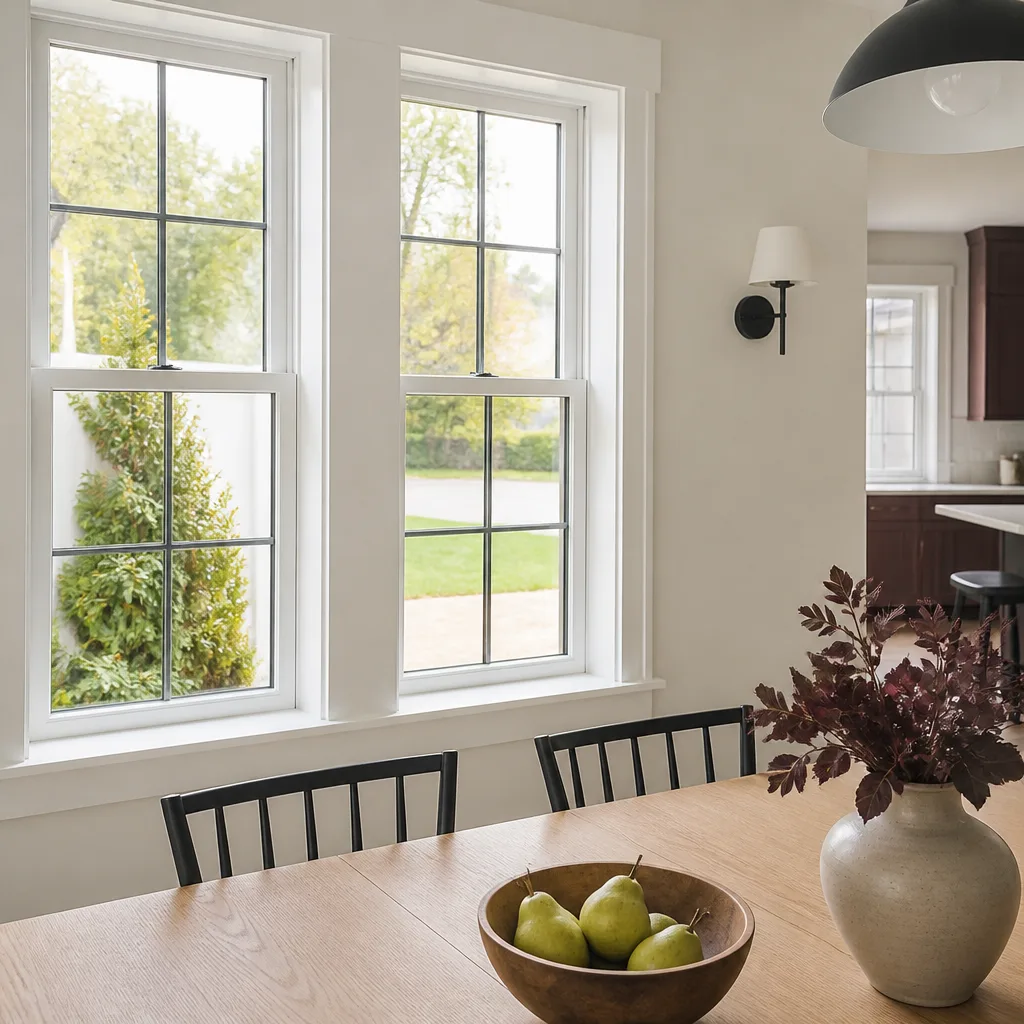
Installing a window in an existing rough opening of the right size is a beginner-to-intermediate DIY project; enlarging that opening by 6 inches requires a correctly sized structural header, a Sonoma County building permit, and a rough framing inspection – and the header calculation alone is where most homeowners stop. That’s the sharp line running through window and door work. On one side sits trim, caulk, weatherstripping, and a like-for-like swap you can finish in an afternoon. On the other sits anything that touches the framing, the load path, or California’s Title 24 energy paperwork. We’ve watched homeowners in Santa Rosa cross that line by accident and pay for it twice. This guide maps the three tiers of the work, walks the real steps of a DIY replacement, and shows where the complexity actually lives.
Quick Answer
A like-for-like window replacement in an existing, correctly sized rough opening is safe to do yourself if you’re comfortable with a level, shims, flashing tape, and a pry bar. Anything that modifies the rough opening, resizes a header, penetrates a load-bearing wall, or triggers Title 24 HERS verification is professional territory – not because it’s hard to swing a hammer, but because the engineering and the inspection paperwork carry real consequences. Most DIY window budgets blow up at the rough opening, not at the glass.
Styles & brands we work with
- Kitchen remodeling
- Bathroom remodeling
- Home additions & ADU
- Roofing
- Windows & doors
- Driveway & pavers
- Fence
Table of Contents
- The Three Tiers of Window and Door Work
- How a Like-for-Like Window Replacement Actually Goes
- California Title 24 and HERS Verification
- Why a Structural Header Isn’t a DIY Calculation
- Exterior Doors: Where the Line Moves
- The Honest Math on DIY vs Professional
- Common Mistakes to Avoid
- When to Call a Professional
The Three Tiers of Window and Door Work
Sort every window or door task into one of three buckets before you pick up a tool. The bucket determines whether you need a permit, an inspector, or a licensed contractor, and getting the bucket wrong is where Santa Rosa projects go sideways.
Tier 1 – Homeowner-appropriate. Work that doesn’t alter the structure or the energy envelope: swapping weatherstripping, re-caulking exterior joints, repainting or repairing interior trim, adjusting a sticky sash, replacing a screen, or a straight like-for-like unit swap into an existing opening that already matches the new unit’s dimensions. No permit in most cases, and the risk of a bad outcome is cosmetic.
Tier 2 – Permit-required DIY. A replacement that changes the window’s energy performance (glass type, U-factor, or a switch to a different unit) can pull a Sonoma County building permit and require a rough and final inspection. A careful homeowner can sometimes do this work, but the inspection has to pass, and Title 24 documentation rides along with it. You’re not the only one checking the install.
Tier 3 – Structural or licensed work. Enlarging an opening, moving a window, cutting a new opening in a load-bearing wall, framing a rough opening for a new exterior door, or anything that changes the header. This is licensed-contractor work in practice, permit and inspection required, and the failure mode is a structural defect rather than a crooked window. If a project needs a new header, it has left Tier 1 for good.
If your project looks like a number of openings at once – a whole-wall pattern of units, or a door plus window combination – it may be closer to a renovation than a swap, and worth looking at alongside Home Additions & ADU in Santa Rosa planning so the fenestration and the framing get sized together.
How a Like-for-Like Window Replacement Actually Goes
Here is the shape of a genuine Tier 1 swap, using real tools and steps, so you can see exactly where the complexity sits.
- Measure the rough opening. With the old unit out, measure the rough opening’s width and height in three places each (top, middle, bottom for width; left, center, right for height) and record the smallest number. Compare it against the new unit’s published rough opening requirement – most vinyl and wood units want the opening roughly 1/2 inch wider and taller than the unit’s frame. If the new unit needs more than about 1/4 inch of shimming on any edge, you’re drifting into Tier 2.
- Check for rot and square. Probe the sill and framing with an awl. A swollen, soft sill or a rough opening more than 1/4 inch out of square means the swap isn’t like-for-like anymore. In Santa Rosa’s wet winters, sills on north-facing walls are often soft by the time the window needs replacing.
- Dry-fit and shim. Set the unit in the opening, then shim at the sill and jambs to get it level and plumb. Shim under the hinge and lock points. Check the reveal – the gap between the sash and the frame – stays even top to bottom. Operation must feel smooth before you fasten anything.
- Fasten per the manufacturer’s schedule. Screws through the jambs or nailing fin per the spec, typically every 12 to 16 inches. The manufacturer’s installation instructions are the contract here; deviate and you’ve voided the warranty.
- Flash the perimeter. This is where DIY installs fail. Self-adhesive flashing tape set shingle-style (bottom first, then sides, then top) over the fin, overlapping at least 2 inches, is the difference between a dry wall and a rotten one. Huber ZIP tape and similar self-adhesive flashings are the standard. Use a roller to press it down; hand pressure alone leaves gaps.
- Test operation, then trim. Open and close the unit several times, check the lock engages without force, then install interior trim and caulk the exterior joint. Paint the trim within a few weeks.
Steps 1, 2, and 5 are where the honest DIY line runs. If rot or out-of-square shows up in step 2, the project just got bigger than a swap. If the flashing in step 5 isn’t pressed flat and shingled correctly, the water finds the gap, even if the window looks perfect on day one.
California Title 24 and HERS Verification
California’s Title 24 energy code applies to window replacements, and it applies whether you install the window or we do. A replacement that swaps a unit’s energy performance – glass type, U-factor, any change to the envelope – can require a third-party HERS rater to inspect and sign off on the installation on top of the standard building inspection. That HERS inspection is normally $200 to $400 in Santa Rosa, paid by the homeowner, and it’s a separate visit from the county building inspector.
What triggers a HERS visit for windows:
- A replacement that changes the window’s U-factor and solar heat gain coefficient from what’s on the permit drawings.
- Any project where the permit requires HERS registration, which the permit itself will state.
- Window replacements bundled into a larger envelope or addition scope.
That $200 to $400 rater visit is invisible in most DIY window budgets, and it lands after the install, which means you can’t discover it until you’re already committed. The window’s energy performance and the Santa Rosa climate zone both feed into whether the rater is required, so the honest question at the front of the project is simply whether your permit scope includes HERS. Do-it-yourself installers face the exact same third-party inspection as professional crews in Santa Rosa.
Two related points that aren’t about Title 24 but do affect which tier you’re in: a fence replacement or Fence Installation in Santa Rosa project often happens alongside exterior window work, and if a window replacement reveals rot in an exterior wall, the fix can drift toward Driveway & Pavers in Santa Rosa-scale site work; scope discipline keeps those projects from snowballing.
Why a Structural Header Isn’t a DIY Calculation
When you enlarge an opening – say you want a 6-foot slider where there’s a 30-inch window – the wall above the opening needs a correctly sized header (the horizontal beam that carries the load down and around the opening). Sizing that header requires four things a calculator app won’t give you: the span of the opening, the tributary load (how much of the wall and roof above the opening the header carries), the lumber species and grade, and the correct structural table for that species to size the member. The American Wood Council’s span tables are the reference point; getting the input wrong misleads the whole calculation.
The reason this is not a DIY step isn’t just code. A header that’s undersized for its load is a safety defect: it can deflect, crack drywall, and in a serious case fail under a load it was never designed to carry. Over a 6-foot opening in a Santa Rosa home with a roof load above it, a hasty header is a real risk. The header has to be sized, then inspected by the county before insulation and drywall go back on. Skipping the inspection doesn’t make the problem go away; it just means no one catches the defect until something fails later.
The structural header is the single clearest marker of the three-tier boundary: if a project needs a new header, the project is a licensed contractor’s project.
Exterior Doors: Where the Line Moves
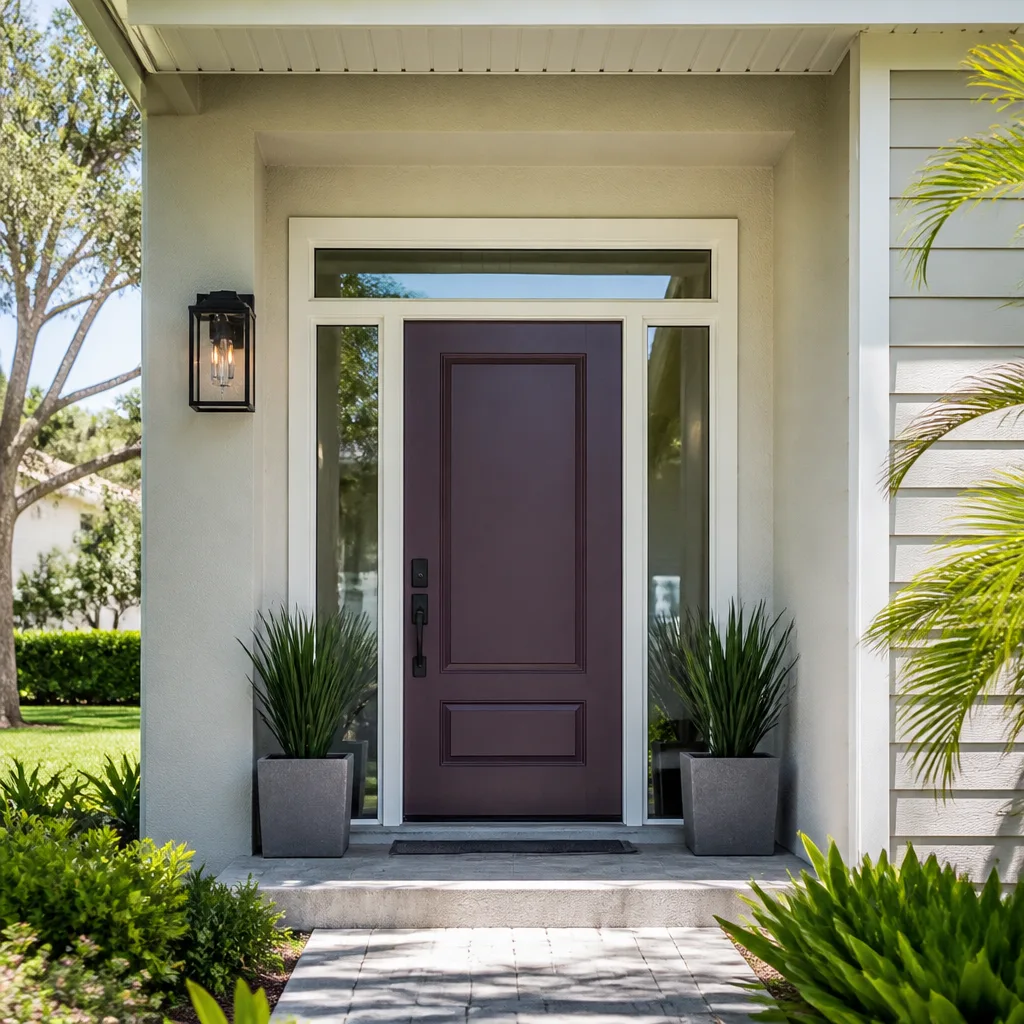
Exterior door replacements sit mostly in Tier 2 and Tier 3, not Tier 1. A like-for-like swap of an existing exterior door into the same rough opening is doable for a careful homeowner, but exterior doors carry three loads a window doesn’t: the door slab is heavy enough that an unsupported rough opening racks and misaligns; the door opening is often the largest single opening in a wall and therefore the biggest framing load; and the threshold and flashing details decide whether water gets in.
What usually crosses the line:
- Enlarging a door opening for a wider French door or a slider. New header, structural inspection, and a permit.
- New exterior door where there wasn’t one (a side yard access, a rear slider in a wall). Load-bearing penetration; that’s Tier 3.
- Replacing a door with a heavier or differently sized unit that changes the door jamb and threshold profile. Flashing and sill pan detail are the failure point, and an incorrectly flashed exterior door leaks into the wall cavity within one Santa Rosa rainy season.
What’s a safe DIY job around doors: hinges, hardware, weatherstripping, threshold replacement where the sill pan stays intact, and interior trim. Cosmetic door work is genuinely in reach. The framing and flashing is not.
The Honest Math on DIY vs Professional
Professional window installation in Santa Rosa runs $150 to $350 per window in labor alone; material is separate. That’s the number on the table, and it’s the number to beat with DIY. The comparison fails when the DIY install has to be redone. A window replacement that needs correction – because the flashing was wrong, the unit went in out of square, or the operation doesn’t close cleanly – runs $400 to $900 per window in correction costs. Replacing the window again, patching the flashing, repairing damaged drywall, and repainting, compounded by the wasted time, is what that number covers.
Here’s a simple break-even view:
- Straight Tier 1 swap, done cleanly once: DIY can beat the labor number if you have the tools and the patience.
- One re-do on a single window: DIY costs as much as professional installs for two windows, and no warranty follows a DIY install.
- Tier 2 or Tier 3 project done DIY: the permit, the HERS inspection ($200 to $400), the header engineering, and the risk of correction push well past the professional quote before labor is even counted.
The other line item the DIY math frequently misses is documentation. A professional install comes with a written scope, a written warranty, and a documented photo record of the flashing and fastening before the trim goes on – which matters at resale and matters again if the window ever leaks. That’s part of what the labor number is buying.
Common Mistakes to Avoid
- Enlarging an opening without a header plan. It’s not a framing detail, it’s a safety defect if the header is undersized. If the opening changes size, the header changes too, and it needs engineering and inspection.
- Flashing taped in the wrong order. Tape must run shingle-style: bottom first, then sides, then top, overlapping at least 2 inches. Taped in the wrong direction, it channels water into the wall instead of away from it.
- Not checking rough opening square before ordering. A unit that shows up for a rough opening that’s 3/8 inch out of square ends up either shimmed into a racked frame or returned. Measure first, small numbers.
- Forgetting the HERS inspection budget. That $200 to $400 third-party rater visit is a real line item in Santa Rosa, and it lands after the install, whether the work was done by a homeowner or a crew.
- Fastening outside the manufacturer’s schedule. Factory install instructions specify screw placement and spacing for a reason; deviating voids the warranty on the unit, which is often worth more than the install labor saved.
- Caulking over a soft sill. Rot underneath the caulk bead is common on north and west-facing windows in Santa Rosa’s wet winters; caulk delays the problem instead of fixing it, and the sill usually needs replacement before the new window goes in.
- Skipping the permit on a Tier 2 replacement. A permitted, inspected window install is what a buyer’s inspector wants to see at resale; an unpermitted replacement is a disclosure headache later.
When to Call a Professional
Call a professional when any of the following is true: the rough opening is being modified in any dimension; a new structural header is needed; the project involves an exterior door in a load-bearing wall; the wall shows rot, water damage, or out-of-square framing; the replacement bundle crosses into a whole-wall or whole-home scope where permits and HERS are involved. Also call when the number of openings is large enough that the DIY time math stops making sense. A single like-for-like swap on a Saturday afternoon is one thing; eight windows across a two-story home is a different project with different risk. Rowan Construction Group Santa Rosa offers free estimates in Santa Rosa – call (833) 842-1866 and we’ll tell you honestly which tier your project falls into before any work is quoted.
Frequently Asked Questions
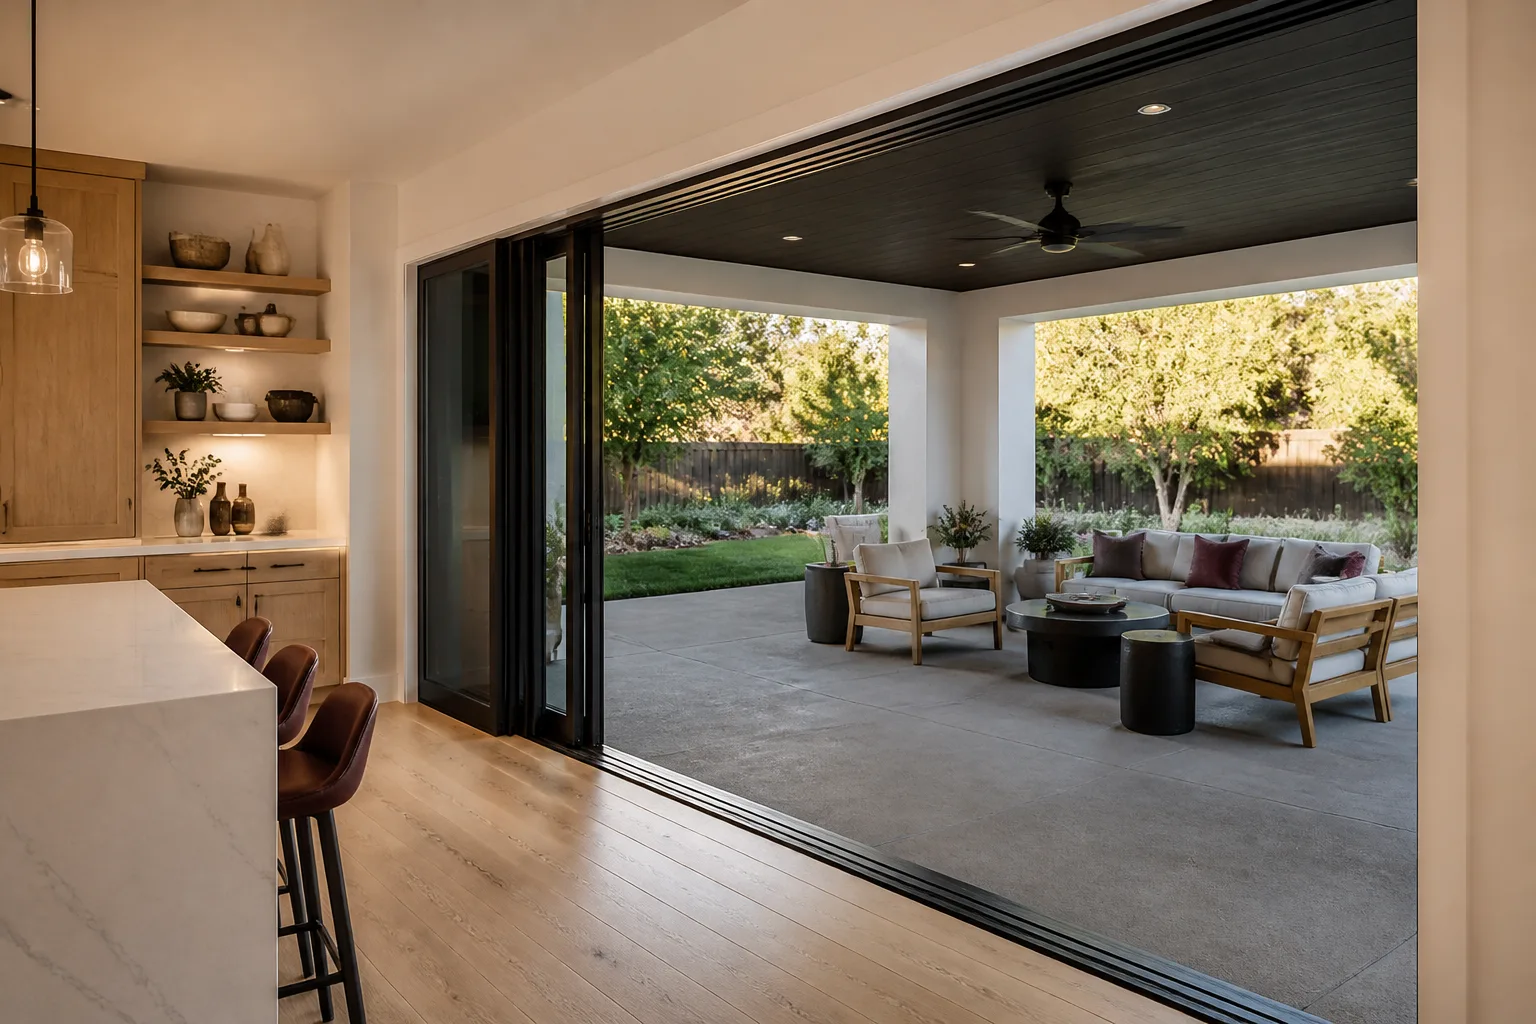
Sometimes, but it depends on the scope. A like-for-like replacement that doesn’t change the window’s energy performance often doesn’t require a permit, while a replacement that changes glass type or U-factor for Title 24 compliance typically does, and may pull a HERS inspection along with it. Check with Sonoma County building before you order the unit. Call (833) 842-1866 for a free estimate on the professional alternative – we’ll quote a flat written price before any work starts.
A DIY window install that needs correcting – bad flashing, out-of-square installation, water damage to the wall – runs $400 to $900 in correction costs per window in Santa Rosa, on top of the original material. The correction cost exceeds the professional labor number ($150 to $350 per window) on the first re-do. Call (833) 842-1866 for a written estimate so you have the professional number in hand before you decide.
A structural header is the horizontal beam that carries the load above a window or door opening. Sizing it correctly requires the span, the tributary load, the lumber species and grade, and the right AWC span table – and getting it wrong creates a safety defect, not just a code violation. It’s engineering plus inspection territory. Call (833) 842-1866 for a free second opinion on any written estimate you’ve received for header or rough opening work.
Yes, and yes. A HERS rater inspection in Santa Rosa normally runs $200 to $400 as a separate third-party visit billed to the homeowner, and it applies to a DIY install if the permit scope requires it – a homeowner faces the same inspection requirement a professional crew does. Call (833) 842-1866 to talk through whether your replacement scope triggers it.
Only if the door is a true like-for-like swap into the same rough opening with the sill pan intact. In practice, exterior doors usually run into framing load, threshold and flashing detail, or an enlarged rough opening – all of which call for a licensed contractor and a permit. The threshold and flashing are where the moisture failures happen, and a bad door install leaks into the wall within one rainy season in Santa Rosa. Call (833) 842-1866 for a free estimate before you commit.
Usually not on the labor, and the factory warranty on the unit itself can be voided if the install doesn’t follow the manufacturer’s published fastening and flashing schedule. A professional install in Santa Rosa comes with a written labor warranty, a written scope, and a documented photo record of the flashing before the trim goes on – Rowan backs that with the 365-Day Done Right Promise. Call (833) 842-1866 and we’ll quote a flat written price with a written warranty.
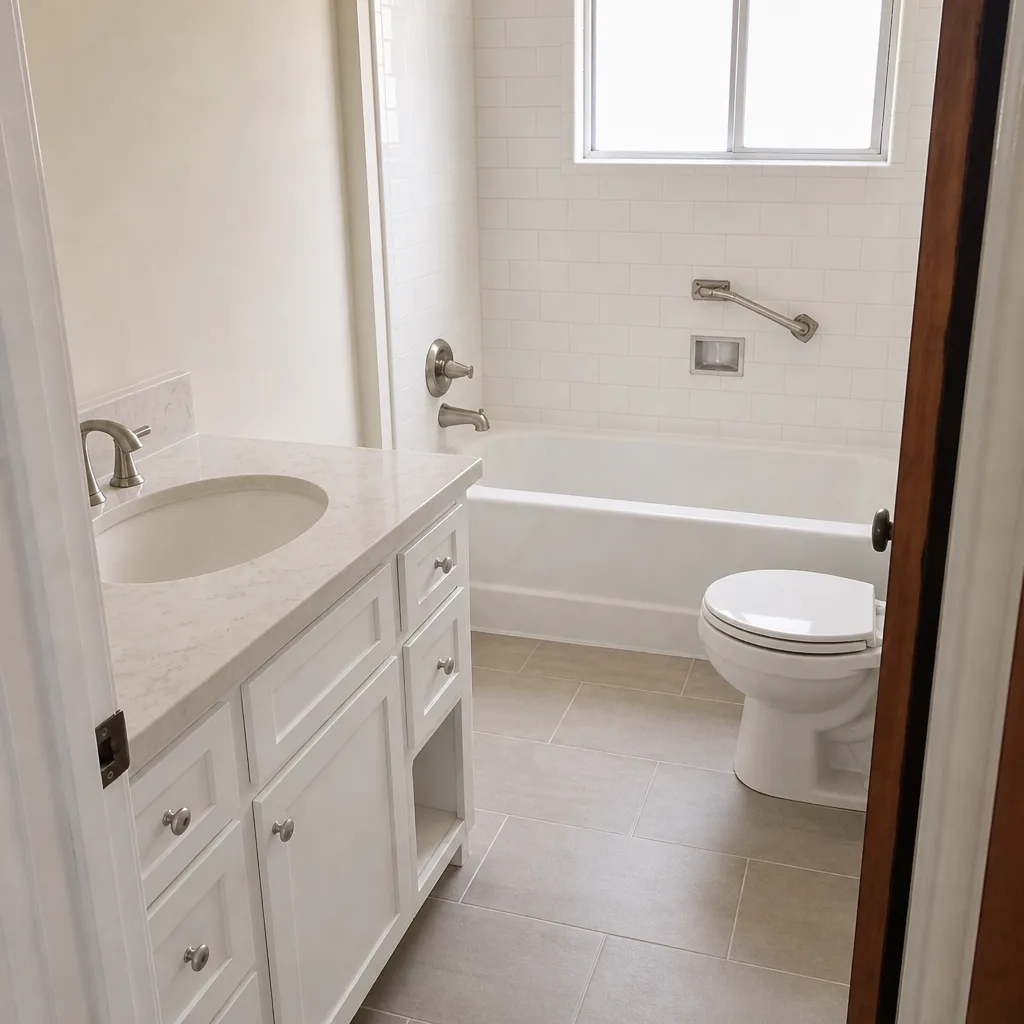
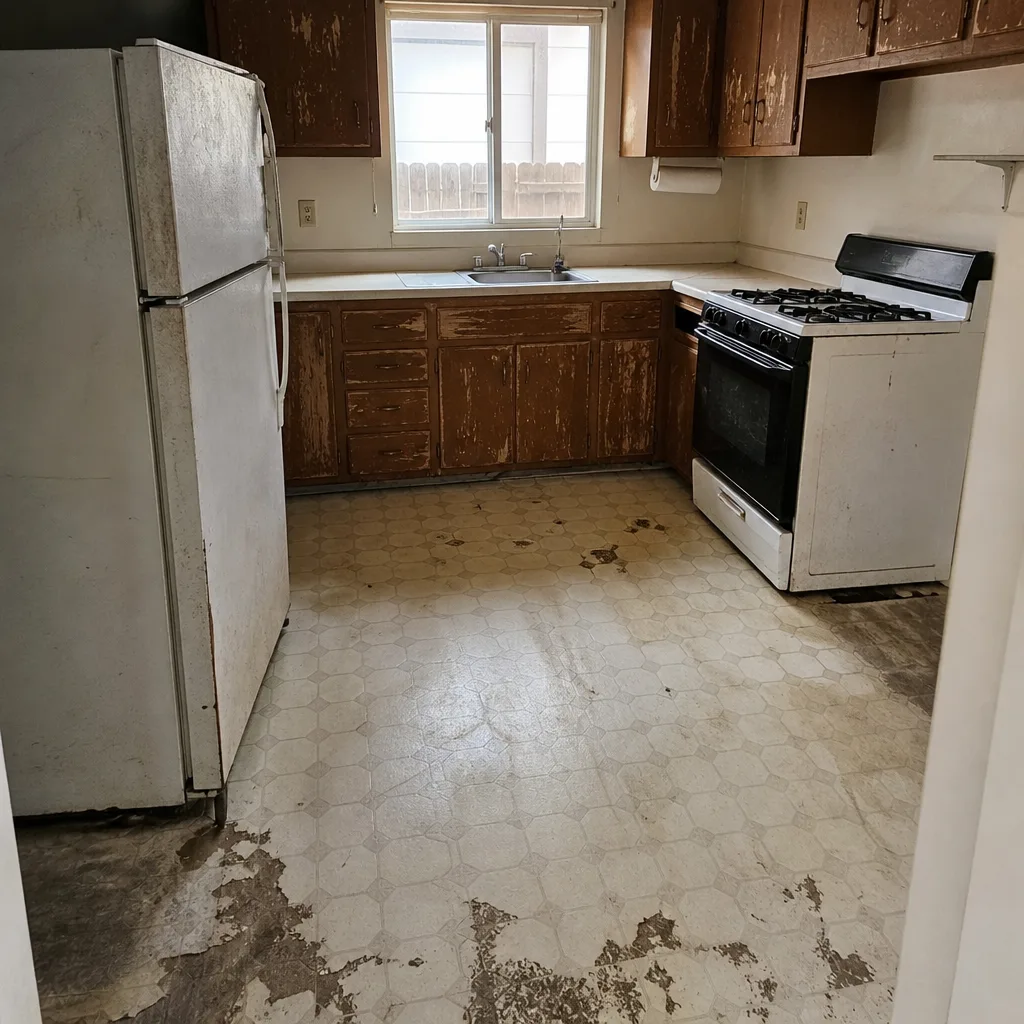
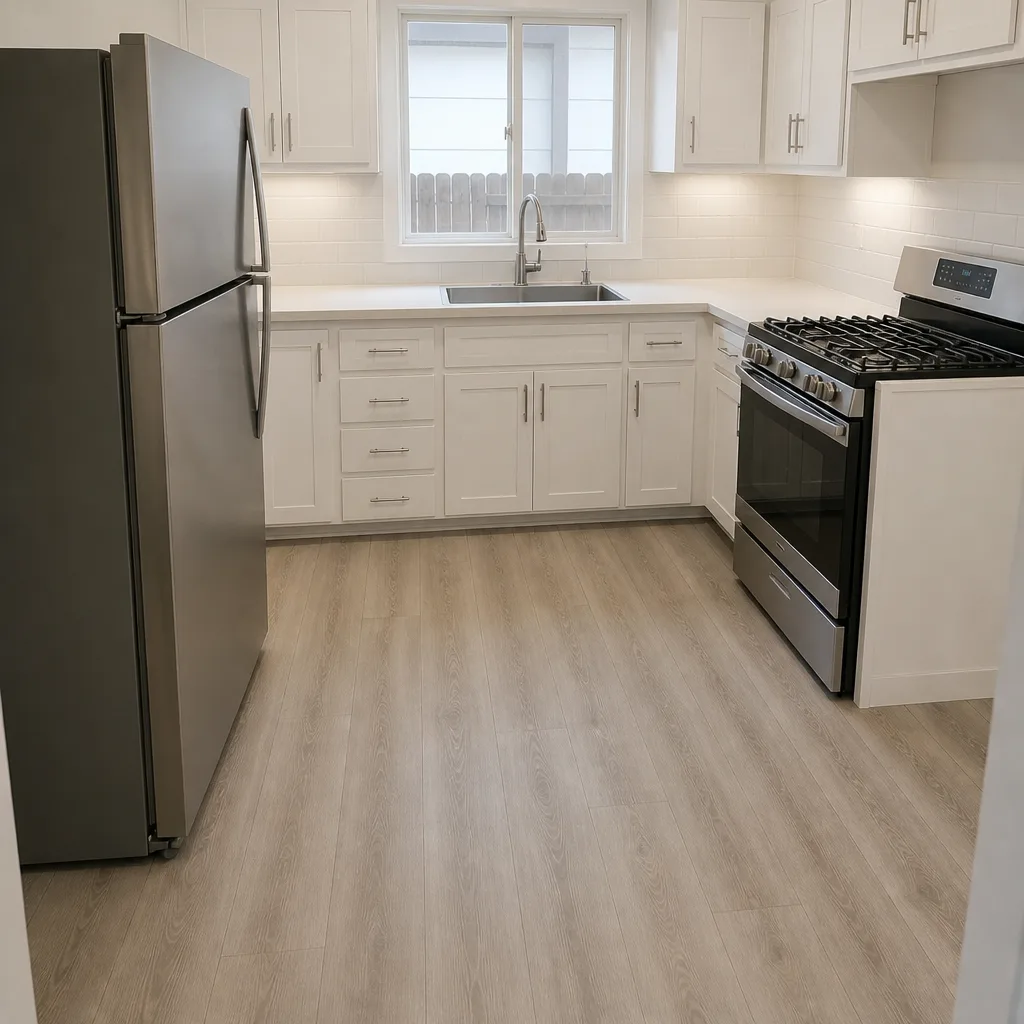
See the difference
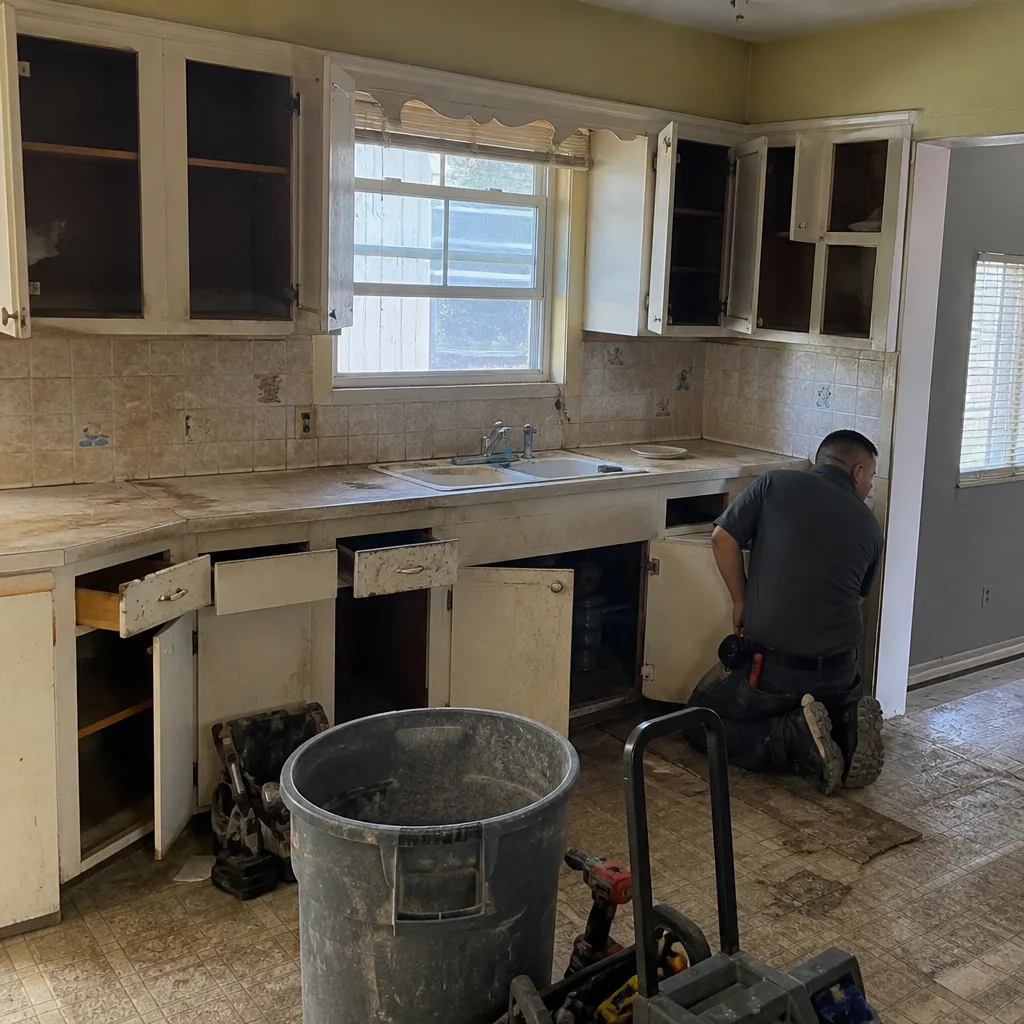 Before
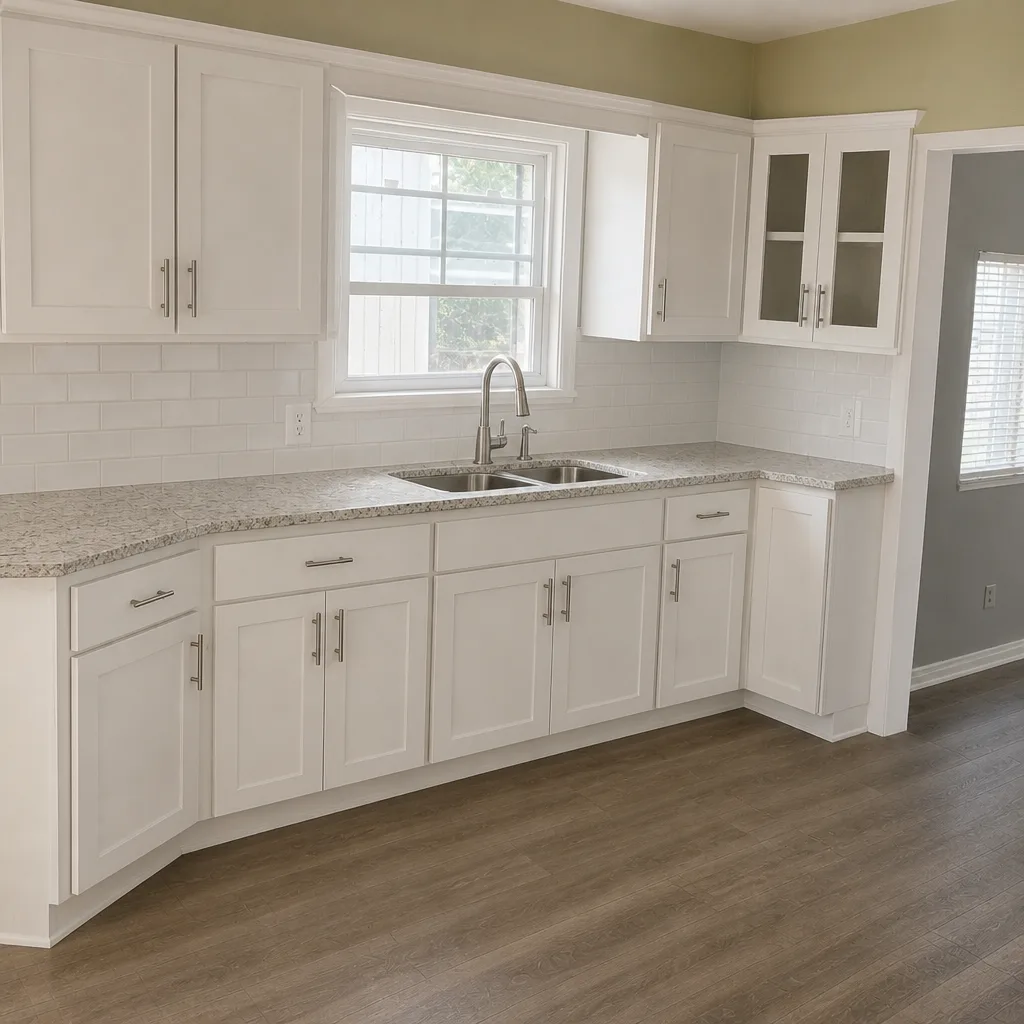 After
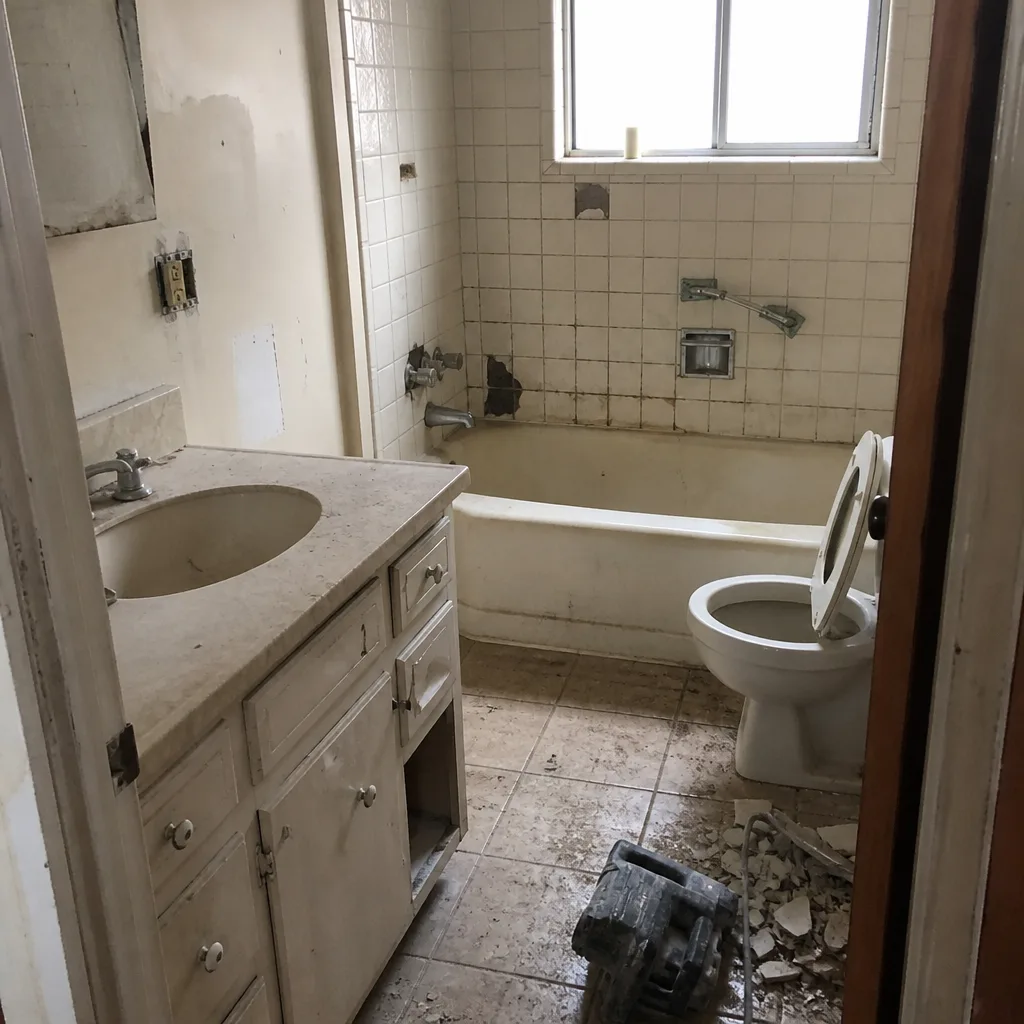 Before
 After
 Before
 After
The Bottom Line
Sort the job into its tier before you buy anything. A like-for-like window swap in a correct rough opening is a genuinely approachable DIY job, if you measure carefully, shim to level, and flash the perimeter correctly. The moment the rough opening changes size, the header needs sizing, the wall is load-bearing, or the project pulls HERS paperwork, the DIY savings evaporate against the correction cost. Santa Rosa homeowners get the best outcome when the tier is named honestly at the start. The professional labor number is a real, reachable number – and it comes with documentation, a warranty, and a photo record the DIY install won’t leave behind.
Related Reading
For the trades tied to window and door work in Santa Rosa, see our Rowan Construction Group Santa Rosa home page, our Home Additions & ADU in Santa Rosa guide (where rough-opening framing and Title 24 envelope planning overlap), our Fence Installation in Santa Rosa page for exterior work that’s genuinely in reach of a careful homeowner, and our Driveway & Pavers in Santa Rosa guide for site-scale projects where the same scope-discipline rules apply.
Get a Free Written Estimate
If you’re not sure which tier your project belongs to, don’t guess. Call (833) 842-1866 for a free estimate in Santa Rosa – we’ll walk the scope, tell you what needs a permit and what doesn’t, and hand you a flat written price with a written scope before anyone picks up a tool. That’s the whole point of the way we work. Every quote comes with a written line-item price, a written warranty, and a documented photo record on every visit, and we back the work with the 365-Day Done Right Promise and a Free Second Opinion on any written estimate you’ve already received. We name the price range in dollars so you can screenshot it and compare – no “call for a quote,” no urgency theatre. Just the number, in writing, before work starts.
Written by the team at Rowan Construction Group Santa Rosa.