Last updated November 17, 2026


Free written scope consultation - allowances, timeline, and change-order rules on paper before a single trade is scheduled
Driveway & Pavers Maintenance Checklist for Santa Rosa Homeowners
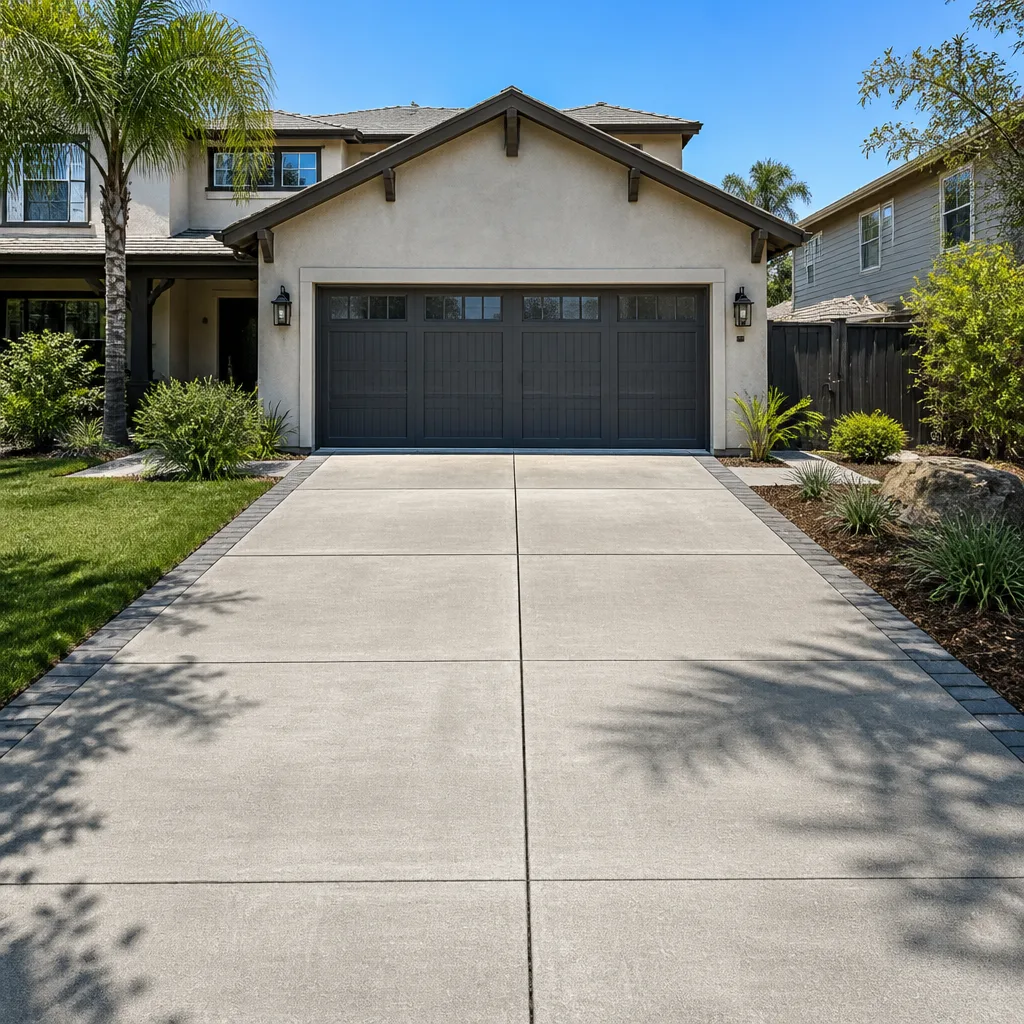
Two maintenance windows decide whether a Santa Rosa paver driveway survives the year: the week before the first heavy November rain, and the week after the last hard freeze in late February. Miss both and the pavers themselves are rarely the problem. The failure happens underneath them. A $14 tube of polymeric sand and 45 minutes of work in October can prevent $2,000 – $4,000 in paver re-leveling caused by a single season of weed-root heave and joint washout. This guide walks through the specific tasks, joint-sand depth thresholds, sealer choices, and post-freeze crack test that keep a driveway flat and tight through Santa Rosa’s rainy season, written from the evidence we collect on jobs across the city.
Quick Answer
In Santa Rosa, a paver driveway needs two full inspections a year (mid-October before the rains and late February after the freezes), joint sand refilled anywhere it has dropped below 1/4 inch from the paver surface, and a penetrating or film-forming sealer reapplied every 3 – 5 years depending on material. The checklist below turns those two windows into dated, product-specific tasks you can log and repeat.
Styles & brands we work with
- Kitchen remodeling
- Bathroom remodeling
- Home additions & ADU
- Roofing
- Windows & doors
- Driveway & pavers
- Fence
Table of Contents
- The Pre-Rainy-Season Inspection (Mid-October)
- Joint Sand Depth: The 1/4-Inch Rule
- Santa Rosa’s Clay Soils and Base Re-Compaction
- Choosing a Sealer: Film-Forming vs. Penetrating
- Post-Freeze Crack Assessment with a Feeler Gauge
- Drainage, Slope, and Winter Water Routing
- Building a Documentation Log
- Common Mistakes to Avoid
The Pre-Rainy-Season Inspection (Mid-October)
Santa Rosa takes most of its annual rain between November and March, and the ground is bone-dry by the time that first storm hits. That dry-to-soaked transition is what opens joints. When polymeric sand has thinned, the first heavy rain drives water into the paver base instead of shedding it, and the freeze-thaw cycles that follow in January do the rest. The mid-October walk-through catches this before the water arrives.
Work the inspection in a set order so nothing gets skipped:
- Walk the full driveway and mark every joint where the sand sits visibly lower than the paver edges, plus any paver that rocks underfoot.
- Clear all joint channels of weeds, leaf litter, and soil with a stiff broom and a hooked weeding tool. Do this before any refill, or the new sand bonds to debris instead of the paver edge.
- Check the perimeter where pavers meet soil, lawn, or a fence line. This edge is where washout starts and where water gets under the base.
- Look at the low corner of the driveway. If water pools there in a normal rain, the slope has settled and the base needs attention, not just new sand.
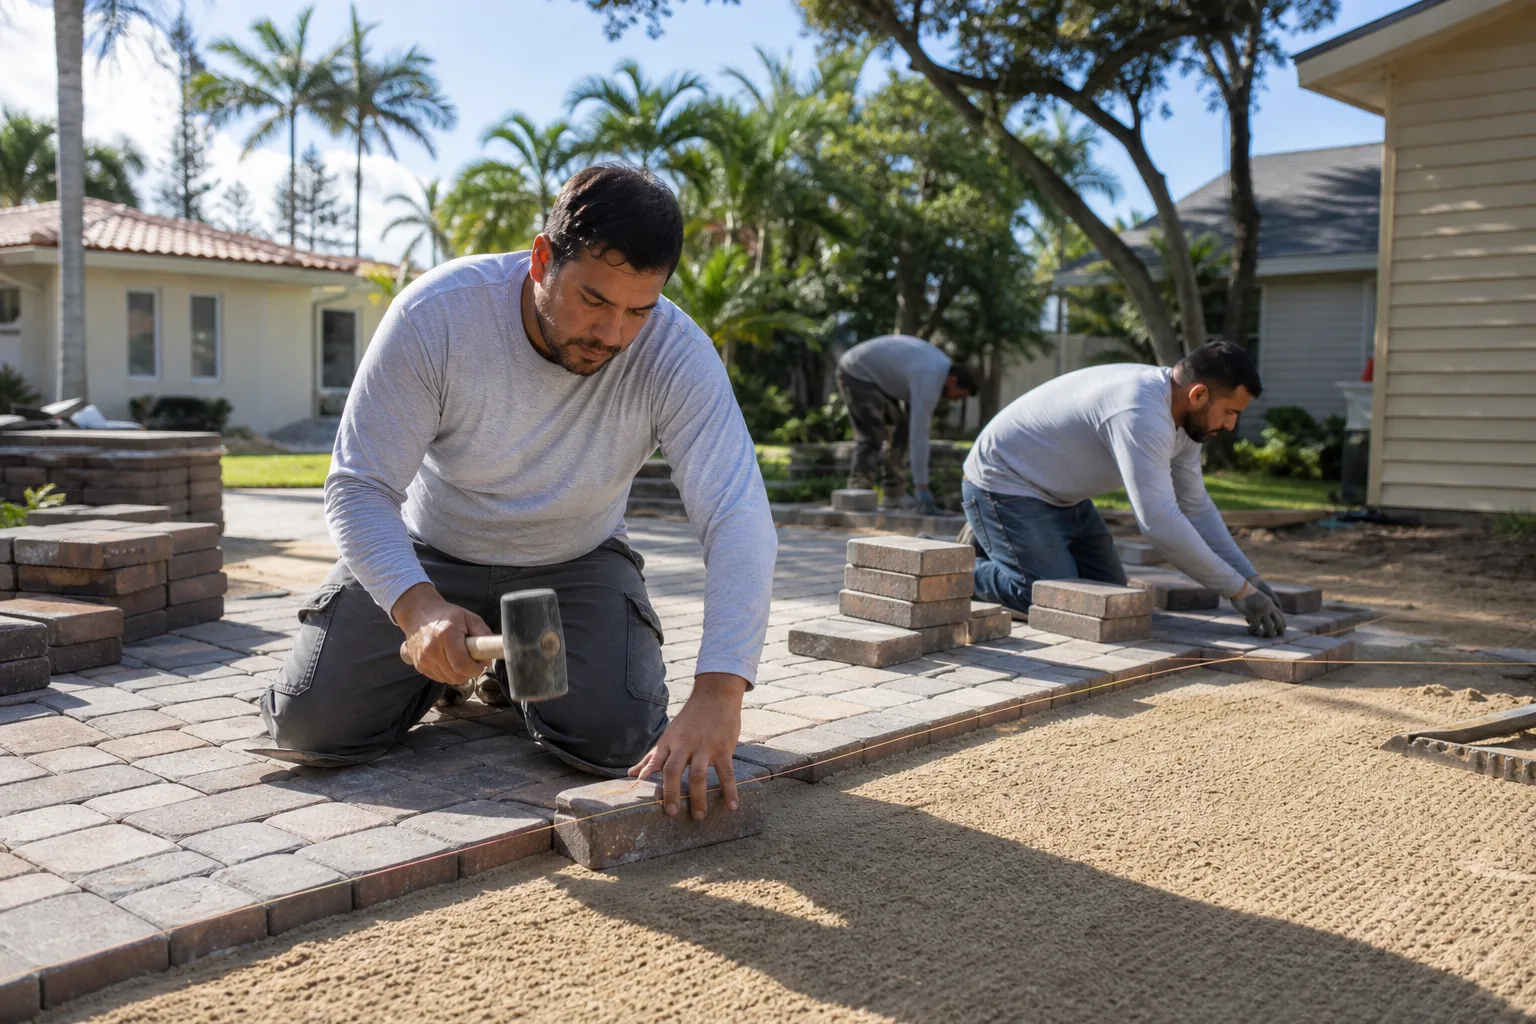
- Sweep fresh polymeric sand into the joints, compact it, and mist it per the manufacturer’s directions. Compaction is the step most homeowners skip, and it is the step that makes the sand lock.
Budget the job at two to four hours for a standard two-car driveway. On a Santa Rosa property with mature oak canopy, expect more time on step two; leaf tannins and fine soil settle into joints faster under trees.
Joint Sand Depth: The 1/4-Inch Rule
Joint sand is not decoration. It is the interlock between pavers that keeps the whole surface acting as one unit rather than a pile of loose blocks. The working threshold: if the sand sits more than a 1/4 inch below the paver’s chamfered (beveled) top edge, the joint has lost its lock and needs a refill before the rains. Anything at or above that line, with the sand firm to a thumb press, is holding.
Why the number matters: the chamfer on most concrete interlocking pavers is roughly 1/8 inch. Once sand drops past the chamfer, there is no material left to transfer load between adjacent units. A single paver starts rocking, the joint widens, and water finds the base. We measure this with a simple depth check rather than eyeballing it, because sun and shadow make shallow joints look full.
A few product notes for the Santa Rosa market:
- Polymeric sand sets up harder and resists washout better than plain mason sand. It is the default for a sloped driveway that sheds water fast.
- Kiln-dried mason sand is cheaper and fine for flat, sheltered areas, but it needs refilling more often.
- Stabilized joint sand (a newer category sold by several paver manufacturers) sits between the two on cost and durability.
- Match the sand color to the paver before you buy. Tan sand in a grey travertine joint reads as a stain once it cures.
Bagged polymeric sand runs roughly $28 – $45 per 50-pound bag at a Santa Rosa yard, and a two-car driveway typically takes four to six bags. That is the $14-to-$45 range that prevents the four-figure re-leveling bill mentioned up top.
Santa Rosa’s Clay Soils and Base Re-Compaction
Soil type drives how often a paver base needs re-compaction, and Santa Rosa is not uniform ground. Many neighborhoods sit on clay-heavy soils of the Pleasanton and Yolo series, which swell when wet and shrink when dry. Others, particularly toward the alluvial flats near the Laguna, drain faster. The behavior of the base under your driveway depends on which one you are on.
Clay-heavy ground moves. A Pleasanton-series clay can expand and contract enough across a wet-dry year to open hairline gaps at the driveway edge and shift the base a fraction of an inch. Over several seasons that fraction becomes a dip. Sandy or gravelly ground moves far less, but drains faster, which means sand in the joints washes out sooner. That is why a one-size re-compaction schedule does not work citywide:
- On clay-heavy lots, have the base re-compacted and the edge restraints re-set every 5 – 7 years, or sooner if you see a low spot forming.
- On fast-draining sandy lots, plan joint-sand refills annually and check the edge restraint annually, but re-compaction can stretch to 8 – 10 years.
- Any driveway with a mature tree within 10 feet needs closer watching regardless of soil. Tree roots push pavers up as surely as clay moves them down.
Re-compaction is a plate-compactor job done on a properly prepped base after lifting the pavers, and it is where we most often find a driveway that was never set on a compacted, gravel base to begin with. That condition shows in the documentation photos, not in a guess. For homeowners planning a full base rebuild or a new surface, our Driveway & Pavers in Santa Rosa page lays out how the base is built and priced.
Choosing a Sealer: Film-Forming vs. Penetrating
Not every paver wants a sealer, and the wrong one causes more problems than it solves. The two families behave very differently, and matching sealer to material is the whole decision.
- Penetrating sealer soaks into the paver and blocks water absorption without leaving a surface coat. Use it on natural travertine and tumbled bluestone, which need to breathe and where a surface film can trap moisture and cause spalling. It leaves no sheen and does not change the color much. Cost runs roughly $1.50 – $3.00 per square foot applied.
- Film-forming sealer leaves a thin protective coat on top and can enhance color and add a wet look. It works on dense concrete interlocking pavers that will not trap moisture underneath. On porous stone it can do real damage by sealing moisture in. Cost runs roughly $2.00 – $4.50 per square foot applied, and it needs reapplication every 2 – 4 years.
Reapply on a schedule set by material, not by calendar alone. A travertine drive with a penetrating sealer every 3 – 5 years holds up; a concrete-paver drive with a film-forming coat may need a refresh every 2 – 3. Seal in dry weather with a 48-hour rain-free window, which in Santa Rosa means late spring through early fall, not the shoulder weeks around the first storm.
One more material note: if your project uses clay or concrete brick pavers, brands like Boral make units whose surface density takes a penetrating sealer well. Confirm the sealer manufacturer’s compatibility list against the specific paver before applying anything.
Post-Freeze Crack Assessment with a Feeler Gauge
Santa Rosa gets enough overnight freezes in January and early February to matter. The damage shows up after the last freeze, so the late-February walk is where you separate cosmetic wear from a repair that cannot wait. A $4 feeler gauge does the assessment.
Here is how the two conditions differ:
- Surface spalling is cosmetic. A thin flake or chip lifts off the paver face, but the paver itself is solid and the joint stays tight. Monitor it. It does not compromise the driveway.
- Structural joint failure is not cosmetic. The gap between pavers has widened, the paver rocks when stepped on, and the joint no longer holds sand. This is water getting to the base and needs repair before the next rain.
Use the feeler gauge to tell them apart. Slide it into the joint at the widest point. A joint holding under roughly 1/8 inch with firm sand is behaving; a joint that has opened past 3/16 inch, especially with a rocking paver next to it, has failed structurally. Wide and stable on a warm day can still be a problem the moment water freezes in it. Mark those spots and schedule the repair.
Cracked or crumbling joint edges that continue to widen after a refill point to a base problem rather than a sand problem. That is the point to bring in a professional rather than keep refilling.
Drainage, Slope, and Winter Water Routing
A paver driveway is a drainage system as much as a surface. Santa Rosa’s winter rain arrives in concentrated bursts, and the question is where that water goes in the first ten minutes of a storm. If it runs toward the garage, the foundation, or a low corner of the driveway, no amount of joint sand will protect the base.
Check three things each fall:
- The fall line of the driveway. Water should sheet away from the house and toward a drain, gutter, or the street. A visible puddle that lingers hours after rain means the slope has settled.
- The edge restraints and any channel drain. Clear leaves and grit so winter flow does not back up.
- The transition where the driveway meets a fence or planting bed. That seam is where soil and runoff enter the joints. Our Fence Installation in Santa Rosa work often uncovers this exact seam failing on older lots.
If water pools against the foundation or a low corner after a normal rain, that is a slope-and-base correction, not a maintenance task. Left alone, it undermines the base and the house footings together.
Building a Documentation Log
A maintenance log is the single most useful thing a homeowner can keep, because it turns “the driveway is fine, I think” into a record a future contractor or buyer can read. It costs nothing and it changes how a driveway is priced and diagnosed years later.
Keep a simple notebook or a notes file with these columns for every task:
- Date of the inspection or repair.
- Task performed (joint refill, sealer, re-compaction, edge reset).
- Product and brand used, with the bag or can name.
- Quantity and cost.
- Condition notes: which joints were low, which pavers rocked, what the feeler gauge read at the widest joint.
- Photos of the before and after, dated.
When you eventually sell or hire for a repair, that log tells a contractor the base history, the sealer type already in the surface, and whether a problem is new or recurring. It saves diagnostic time and it justifies the maintenance in a home listing. We hand every customer a documented photo record on every visit for exactly this reason: evidence beats a verbal recollection.
Common Mistakes to Avoid
- Refilling joints without clearing them first. Sand bonded to leaf litter and soil fails within a season. Clear the joint channel before every refill.
- Skipping compaction after a sand refill. Loose sand washes out in the first storm. Compact it, then mist it, per the bag directions.
- Sealing a wet or recently rained-on driveway. Trapped moisture under a film-forming sealer can cause spalling. Seal only on dry pavers with a dry forecast.
- Using a film-forming sealer on natural stone. Travertine and bluestone need to breathe. A surface film traps moisture and accelerates damage.
- Ignoring a rocking paver until spring. One rocking unit widens its joints and lets water into the base. Fix it in the fall, not after the damage spreads.
- Assuming clay soil behaves like sand. Santa Rosa’s Pleasanton and Yolo-series clays heave and shrink. A re-compaction schedule built for sandy ground will miss the failure.
- Letting water pool at the foundation all winter. A low corner that holds water erodes the base and the footings. That is slope work, not a maintenance task.
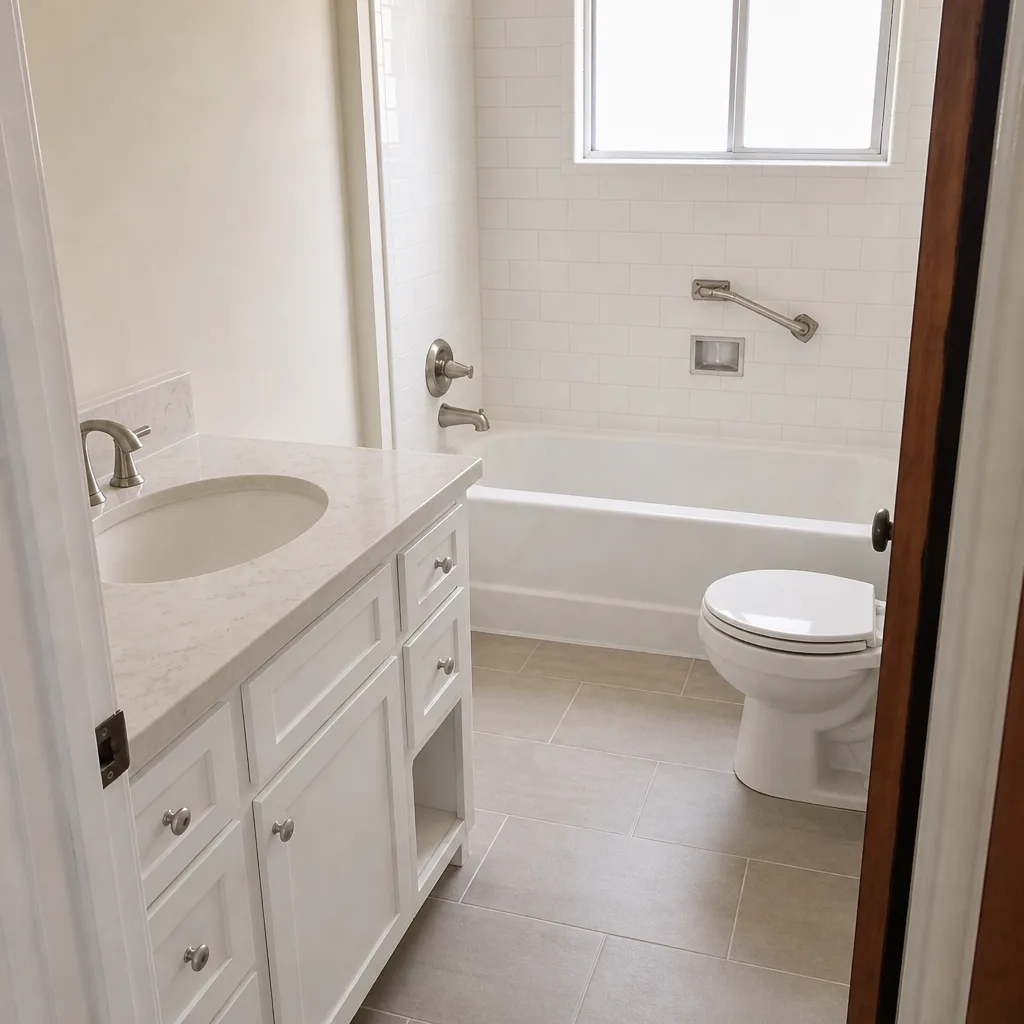
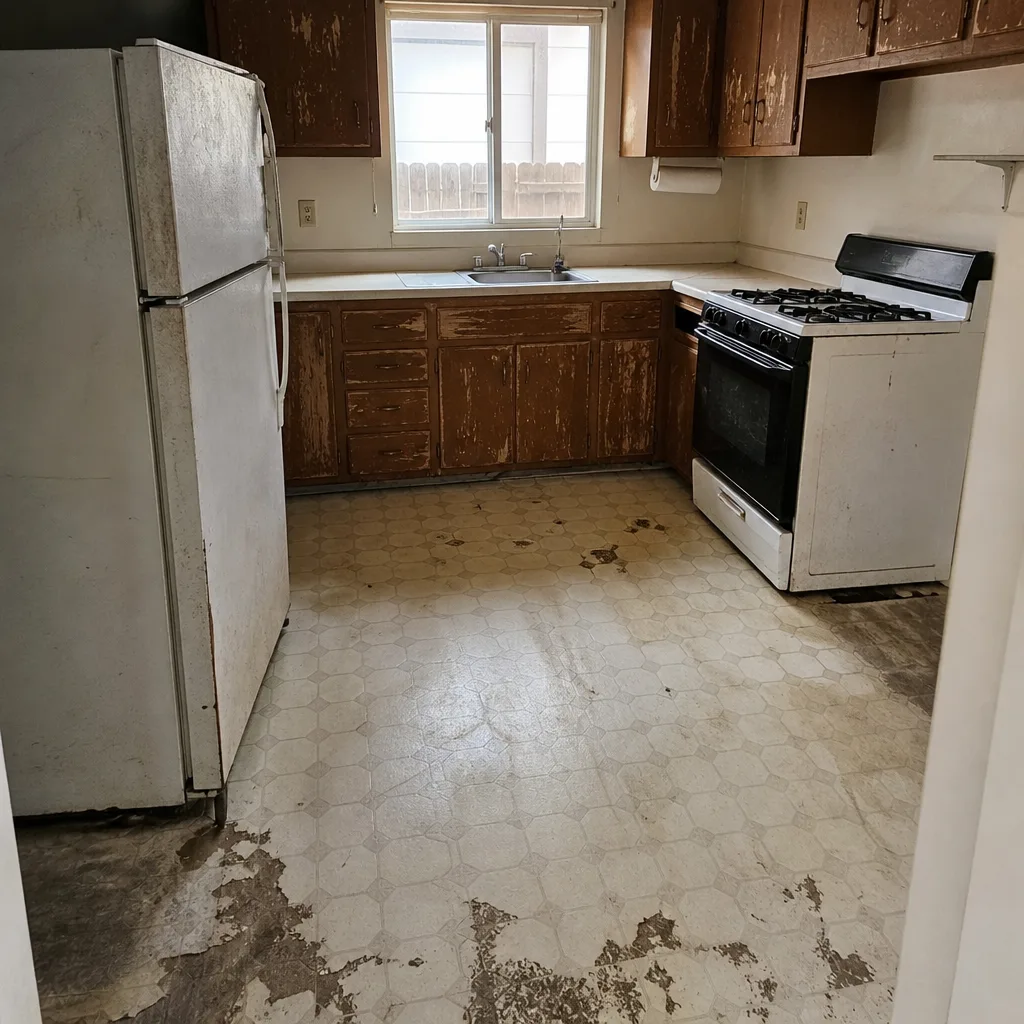
See the difference
 Before
 After
 Before
 After
 Before
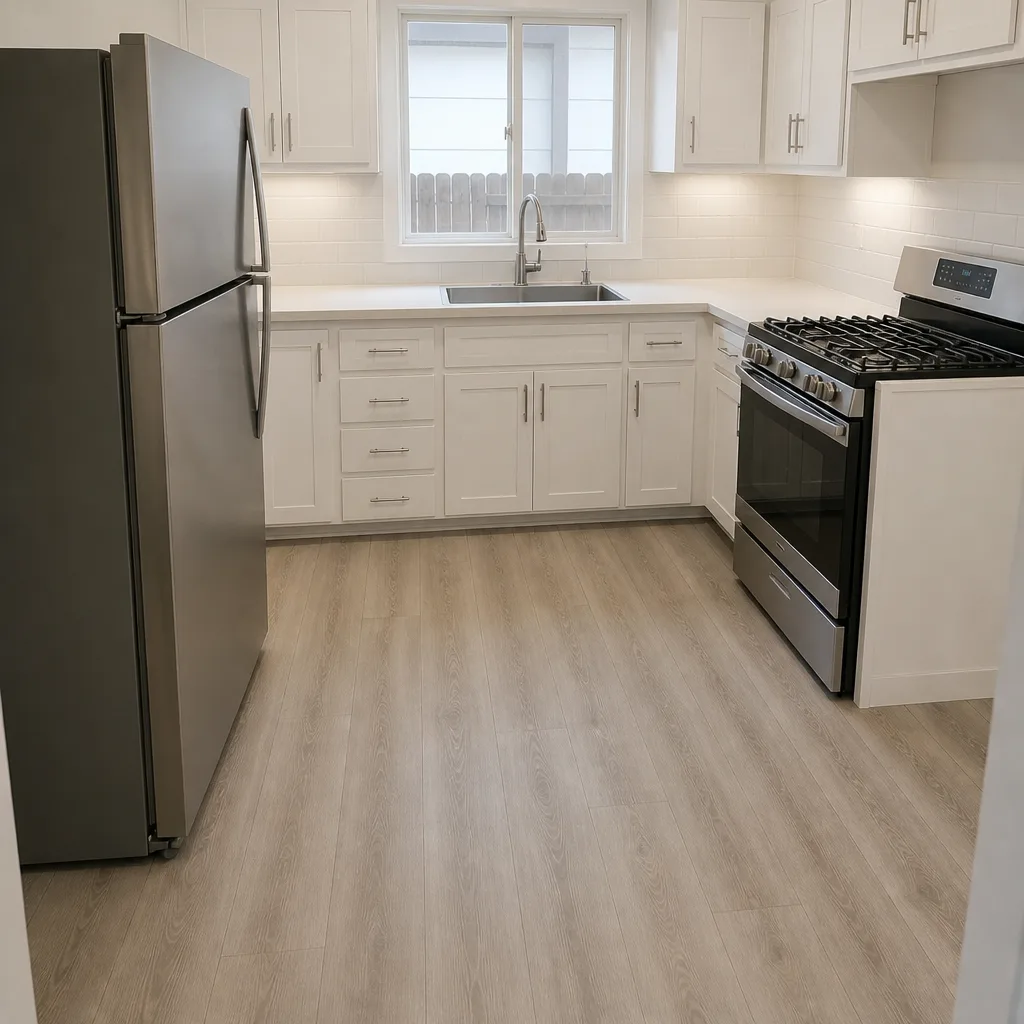 After
When to Call a Professional
Most of this checklist is homeowner work. A few conditions are not. Call a professional when pavers rock in a group rather than one at a time, when a joint opens past 3/16 inch and keeps opening after a refill, when water pools against the house or a low corner through the rainy season, or when the base has visibly settled into a dip. Those point to a base or drainage problem that new sand will not fix, and the earlier it is caught, the smaller the repair. Driveway and paver work is one of the seven trades we handle, and we give a written flat price before any work starts. Rowan Construction Group Santa Rosa offers free estimates in Santa Rosa, with a written scope and a documented photo record on every visit. Call (833) 842-1866 to schedule yours, or bring a competitor’s quote for a free second opinion reviewed line by line.
Frequently Asked Questions
Plan on one refill a year on fast-draining sandy lots and every 1 – 2 years on clay-heavy ground, measured against the 1/4-inch depth rule rather than the calendar. If the sand sits more than a 1/4 inch below the paver’s chamfered edge, refill before the next rain. Call (833) 842-1866 for a free estimate if the joints keep opening after refills.
A penetrating sealer, not a film-forming one. Natural stone needs to breathe, and a surface film can trap moisture and cause spalling, especially through Santa Rosa’s wet winters. Expect roughly $1.50 – $3.00 per square foot applied, with reapplication every 3 – 5 years.
Yes, with a $4 feeler gauge. Surface spalling is cosmetic and can be monitored; a joint that has opened past roughly 3/16 inch with a rocking paver beside it is structural and needs repair before the next rain. If a joint keeps opening after a refill, that points to a base issue worth a professional look.
On clay-heavy lots (the Pleasanton and Yolo soil series common in many Santa Rosa neighborhoods), yes. Clay swells and shrinks across a wet-dry year, so plan base re-compaction and edge restraint reset every 5 – 7 years, versus 8 – 10 on sandy ground. Watch for a forming low spot as the early signal.
No. Sealing slows water absorption but does not replace joint sand or fix a drainage problem. The real defense against weed-root heave and washout is a properly filled, compacted joint plus correct slope. Sealer is a layer on top of that, not a substitute.
Two to four hours for a standard two-car driveway in October (clearing, refilling, compacting) and about an hour in late February for the post-freeze crack assessment and touch-ups. The time you invest is what prevents the $2,000 – $4,000 re-leveling bill a missed season can cause.
The Bottom Line
The two windows that matter in Santa Rosa are mid-October, before the first heavy rain, and late February, after the last freeze. Clear and refill the joints to the 1/4-inch rule before the rains, seal with the product that matches the paver material, re-compact the base on the schedule your soil calls for, and use a feeler gauge to tell cosmetic spalling from structural failure. Log every task with date, product, cost, and photos so a future contractor or buyer can read the history. Do the maintenance and the pavers hold for years. Skip it and the base pays for the difference. If the next step is a repair or a fresh install with a written flat price, that is a call worth making. For homeowners planning bigger work, our Home Additions & ADU in Santa Rosa page covers how paving and site drainage tie into a build, and the Rowan Construction Group Santa Rosa home page shows how we quote across all seven trades.
Schedule a Free Estimate
If your driveway has a low corner, a group of rocking pavers, or joints that keep opening after a refill, the next step is a written price, not a guess. Call Rowan Construction Group Santa Rosa at (833) 842-1866 for a free estimate. We put the number in writing before anyone picks up a tool, stand behind the work with the 365-Day Done Right Promise, and leave you a documented photo record of what we found and what we did.
Written by the team at Rowan Construction Group Santa Rosa.