Last updated November 17, 2026


Free written scope consultation - allowances, timeline, and change-order rules on paper before a single trade is scheduled
Fence Installation Troubleshooting: Common Problems and How to Fix Them
A leaning wood fence is not a fence problem. It is a post problem, and re-plumbing posts without replacing the concrete collar around them typically buys 12 to 18 months before the lean returns. That single failure mode accounts for most of the fence diagnoses we run in Santa Rosa, no matter what the homeowner first noticed. Pickets, rails, and hardware hold up for decades. Posts set in the wrong concrete mix, at the wrong depth, or in a collar that traps water fail in five to eight years regardless of how good the cedar is above grade.
This guide walks you through the diagnostic tests that separate post failure from rail sag from gate hinge wear, the concrete collar failure modes to look for, and how fast rot moves through different wood species under Sonoma County conditions. You’ll finish knowing which component to repair and roughly what the fix costs.
Quick Answer
Test a leaning fence post by probing it with a screwdriver at the soil line: resistance indicates sound wood and soil heave, no resistance indicates rot. If the post is rotten at grade or the concrete collar is cracked and holding water, the post must be replaced ($150 – $300 per post). If the post is sound but the rails sag, you’re looking at a $40 – $80 per-bay rail repair, not a post replacement.
Styles & brands we work with
- Kitchen remodeling
- Bathroom remodeling
- Home additions & ADU
- Roofing
- Windows & doors
- Driveway & pavers
- Fence
Table of Contents
- The diagnostic test that tells you whether it’s a post failure
- Concrete collar failure modes and how to spot them
- Rail sag versus post lean: a cheaper problem than you think
- Gate sag diagnosis: hinge, post, or racking
- Wood rot progression rate by species in Santa Rosa
- Common mistakes to avoid
- When to call a professional
- Frequently asked questions
How do you know whether a leaning fence post is rotten or heaved?
The screwdriver probe is the fastest test and the one we run first on every call in Santa Rosa. Push a long screwdriver into the post about an inch above the soil line, straight into the side grain, with firm thumb pressure. Resistance means the wood fiber is intact – the post is likely still structural, and the lean is from soil movement or from the concrete itself having shifted. No resistance, or a screwdriver that sinks in easily and comes out wet, means the wood is rotten at grade, which is where rot starts and where it hides.
Pair the probe with a plumb check. Hold a four-foot level against the post above grade. If the post reads plumb above the soil line but the top leans, the culprit is the collar below grade, not the wood. If the post reads out-of-plumb top to bottom, that’s soil movement, frost heave (rare in Santa Rosa, but possible in low pockets), or a foundation poured too shallow. Run both tests before you call anyone.
- Probe at grade – a screwdriver reveals rot in 10 seconds.
- Plumb check above grade – separates wood failure from collar failure.
- Look at the collar crown – a flat or recessed collartop holds water; a flared one sheds it.
- Wiggle the post – a 1-inch lateral movement at the top means the collar has failed below grade.
- Walk the line – one leaning post is repairable; four in a row means the whole run was installed the same wrong way.
What does a failing concrete collar around a fence post look like?
The collar is the concrete shoulder intended to stabilize the post at grade, and its shape determines whether the post lasts 30 years or 8. There are two shapes you’ll see in Santa Rosa, and they behave very differently.
The tube form is a straight-sided collar poured into a cardboard or plastic sonotube. The top is flat or slightly recessed, and it holds a shallow ring of water against the wood after every rain. In fog-heavy neighborhoods – Bennett Valley, Rincon Valley, parts of Sebastopol Road – the collar never fully dries between wet spells, and rot at grade starts in three to four years. The flared crown is a collar whose top slopes away from the post at roughly 15 degrees, like a volcano cone. Water runs off, the wood stays dry above the soil line, and the same post in the same ground lasts three times as long.
- Failed collar signs: flat or dished top; visible seam between collar and post; rust stains on the galvanized hardware; a hairline crack radiating from the post outward.
- Healthy collar signs: sloped top, water sheds visibly when you pour a cup over it, concrete integral with the post without a visible gap.
- Photographable evidence: put a level on the collar top. A flat or negative slope is the failure.
If you’re replacing the post, the replacement collar must be flared, and it must sit above the finished grade by two inches so water doesn’t pool at the base of the pickets. That’s the fix that survives. When we rebuild a fence run, we spec the collar first and the wood second – the wood above grade almost never fails when the collar is right. If you’re replacing a whole run rather than patching, see our fence installation in Santa Rosa page for how we phase the work.
How can you tell rail sag from post lean?
Rail sag is cheaper to fix than post lean and is often mistaken for it. Stand on the side of the fence, sight down the top rail with one eye closed. If the rail dips in the middle of a bay but the posts are plumb and evenly spaced, the posts are fine – the rail has failed at the bracket or at mid-span wood rot. That’s a $40 to $80 repair per bay, not a $150 to $300 post replacement.
Rail sag has three common causes. The bracket has loosened from wood shrinkage, which happens fast in Santa Rosa’s dry summers after a wet winter. The rail has rotted at the mid-span where water pools on its top edge, most common on the south-facing runs that never dry out in fog season. Or the rail span is over 8 feet without a mid-support, which is a design problem the previous installer should have caught.
An inspector fixes bracket looseness with a pull test – grip the rail at mid-bay and try to lift it 1/4 inch. Any movement means re-set the bracket with a longer structural screw. Mid-span rot is caught with a probe just like a post. Over-span is corrected by adding a sister block or replacing the rail with a shorter span.
Rail sag that stays in one bay is a repair. Rail sag that walks down the fence year after year points to a deeper drainage problem – usually the soil on one side is graded into the fence, keeping the collar wet. Fix the grade with the rail, not after.
Why does my gate sag, and what’s the cheapest fix?
Gate sag is one of the three failure modes and the diagnosis is a five-minute job. Hinge wear, post lean, and gate frame racking produce the same visual – the gate drops and drags – but the fixes are $8, $300, and $25 respectively.
- Hinge wear test: open the gate 90 degrees and lift it. If the gate lifts with a little play and drops back to drag, the hinges are worn. Fix is washers behind the hinge plates and tightening the bolts – an $8 fix and the most common one.
- Post lean test: probe the hinge-side post at grade. If the post is sound and plumb and the gate still drags, the hinge side is not the issue. If the post moves when you push the top of the gate, the post has failed and must be replaced – $150 to $300 per post, and no amount of hinge adjustment saves it.
- Frame racking test: hold a framing square in the gate’s upper corner. If the corner is off-square but the hinges and posts are fine, the gate frame has racked. Fix is a diagonal tension rod from the lower hinge corner to the upper latch corner – a $25 part that resists racking over time. Re-squaring the gate without the tension rod buys months, not years.
In Santa Rosa, gate sag is often hinge wear plus post lean at once – the gate drags, the homeowner oils the hinges, the post keeps moving, and eventually the fence line fails. Diagnose both. If the fence line is fine and only the gate is failing, a gate-specific repair is a reasonable single-trade call.
How fast does wood rot at grade in Santa Rosa?
Rot speed depends on species, and the difference is measurable. Here’s what we see in Santa Rosa’s wet-winter, dry-summer, fog-belt climate:
- Untreated pine: 4 to 6 years to failure at grade.
- Pressure-treated pine (ground-contact rated): 12 to 18 years.
- Cedar (Western Red Cedar or incense cedar): 15 to 20 years.
- Old-growth redwood: 25 years or more, but rarely available and expensive.
- Composite or steel posts: 25 years or more, and no rot at grade.
The critical variable is not the species – it’s the collar. A pressure-treated post set in a flat tube-form collar rots in 10, not 18, because the collar keeps the wood permanently wet at grade. A cedar post in a flared collar lasts 20. We’ve pulled pressure-treated posts in Santa Rosa that failed at 9 years because the collar trapped water, and cedar posts nearby that were still sound at 18 because the collar was correct.
Plan repairs accordingly. If your fence has untreated pine posts, budget for post replacement at the five-year mark and don’t be surprised by it. If it’s cedar, check the collars twice a year and you’ll get two decades. If you’re replacing the whole fence and want to stop thinking about it, composite or steel posts are the correct answer – the upfront cost is real, but you remove an entire repair category.
Common mistakes to avoid when troubleshooting a fence in Santa Rosa
- Re-plumbing a post without replacing the collar. This is the single most common mistake and the one that costs the most over time. If you jack a post back to plumb and leave the failed collar in place, the lean returns in 12 to 18 months. The collar is the failure, not the post.
- Probing above the soil line. The rot starts right at grade, sometimes two inches below the surface. Probe low. A post that feels solid at eight inches up is often a rotten core at two inches.
- Confusing rail sag with post lean. A rail that dips in one bay with plumb posts is a $40 – $80 bracket fix, not a $300 post replacement. Sight down the rail before you call anyone.
- Oiling gate hinges and calling it fixed. Drag that returns within a week is not a hinge problem – it’s racking or a leaning post. The diagonal tension rod is the right $25 fix for racking, and post replacement is the right call for a leaning post. Oil isn’t the fix for either.
- Ignoring grade and drainage. Santa Rosa’s clay soils, especially in Rincon Valley and Bennett Valley, hold water against the collar for weeks after a winter storm. If the soil is graded into the fence line, you will keep replacing posts. Regrade first.
- Patching cedar posts with pine. Mixed-species repairs fail at the pine post. Replace like with like, and use ground-contact-rated pressure-treated lumber if the species is unavailable.
- Stopping at the visible post. Walk the whole line. One leaning post often means the entire run was installed with the wrong collar, and you’ll be back in six months for the next one. If the whole line shares a fault, plan the whole-line repair.
When to call a professional
Call a professional when the diagnosis crosses into post replacement, when the concrete collar needs to be broken out and re-poured, or when more than one post in a run has failed. Post replacement involves breaking concrete, digging to depth, setting a new collar at the correct slope and grade, and re-aligning the line – work that requires tools most homeowners don’t own and that gets done wrong more often than right. Also call when the fence is holding a retaining wall, sitting on a slope, or playing a structural role in a pool safety enclosure – those need a proper pull and spec, not a patch. And call if the fence line is more than 15 years old and the wood is cedar: a whole-run replacement at that age is often cheaper per year than spot repairs every 18 months.
Rowan Construction Group Santa Rosa offers free estimates in Santa Rosa, with a written flat price and written scope before any work starts. The written price is the founding discipline of The Haven Standard (Clause 1: the price is delivered before anyone picks up a tool), and it’s why our projects finish within a few percent of the number the customer agreed to. Call (833) 842-1866 to schedule your free estimate.
If the work is broader than a fence run – new posts as part of a larger exterior project, a paving change that affects the fence line – our Driveway & Pavers in Santa Rosa page covers how we sequence the two, and our Home Additions & ADU in Santa Rosa page covers fences that serve a new structure. For a full view of what we do across seven trades, start at the Rowan Construction Group Santa Rosa home.
Frequently Asked Questions
A leaning post repair in Santa Rosa typically costs $150 – $300 per post, including new concrete collar, lumber, and labor. A rail bracket repair runs $40 – $80 per bay. A gate hinge fix is $8 in parts. The written quote should show the line items separately – post, collar, hardware, labor – so you can compare one contractor to another without guessing. Call (833) 842-1866 for an exact quote – estimates are free.
You can fix a bent bracket or a racked gate, but post and collar replacement is a professional job. The concrete collar has to be broken out, the hole re-dug to the correct depth, and the new collar poured with a flared top so it sheds water rather than holding it. A DIY collar that’s flat or recessed will rot the new post at the same rate as the old one. Probe first to diagnose, then call for post and collar work.
Because the concrete collar around the post is failing, not the post itself. Santa Rosa’s wet winters and fog-belt summers keep the collar wet if the top is flat or dished. The wood at grade rots, the collar loses its grip, and the post leans. Re-plumbing a post without replacing the collar buys 12 to 18 months before the lean returns, which is why so many Santa Rosa fences get “fixed” repeatedly without actually getting fixed.
Fence height determines the permit. In Santa Rosa, fences up to six feet in the side and rear yards typically don’t require a permit; front-yard fences and fences over six feet usually do, and the exact rule depends on the zoning overlay for your parcel. If the fence is on a property line, you should also confirm the setback from the city. When we quote fence work, the permit status is written into the scope – if a permit is needed, it’s in the price, not an extra found later.
A single post replacement is a half-day job, weather permitting. A rail-and-bracket repair across five bays is also a half day. A whole-line replacement (10 – 20 posts) runs two to four days depending on access and material lead times. Our quotes include the expected duration and the crew arrival window in writing, so you can plan the week. For planned repair work like this the schedule is real – nobody’s fence is being built same-day.
Not without a signed change order. Under Clause 1 of The Haven Standard, the price is written before any work starts, and no change proceeds until a change order is signed. If the crew opens a collar and finds rot deeper than expected, that’s a change order with a written number before anyone continues. Our projects finish within a few percent of the agreed price, and the second-opinion review on any competitor’s written estimate is free. Call (833) 842-1866 to schedule your estimate.
The Bottom Line
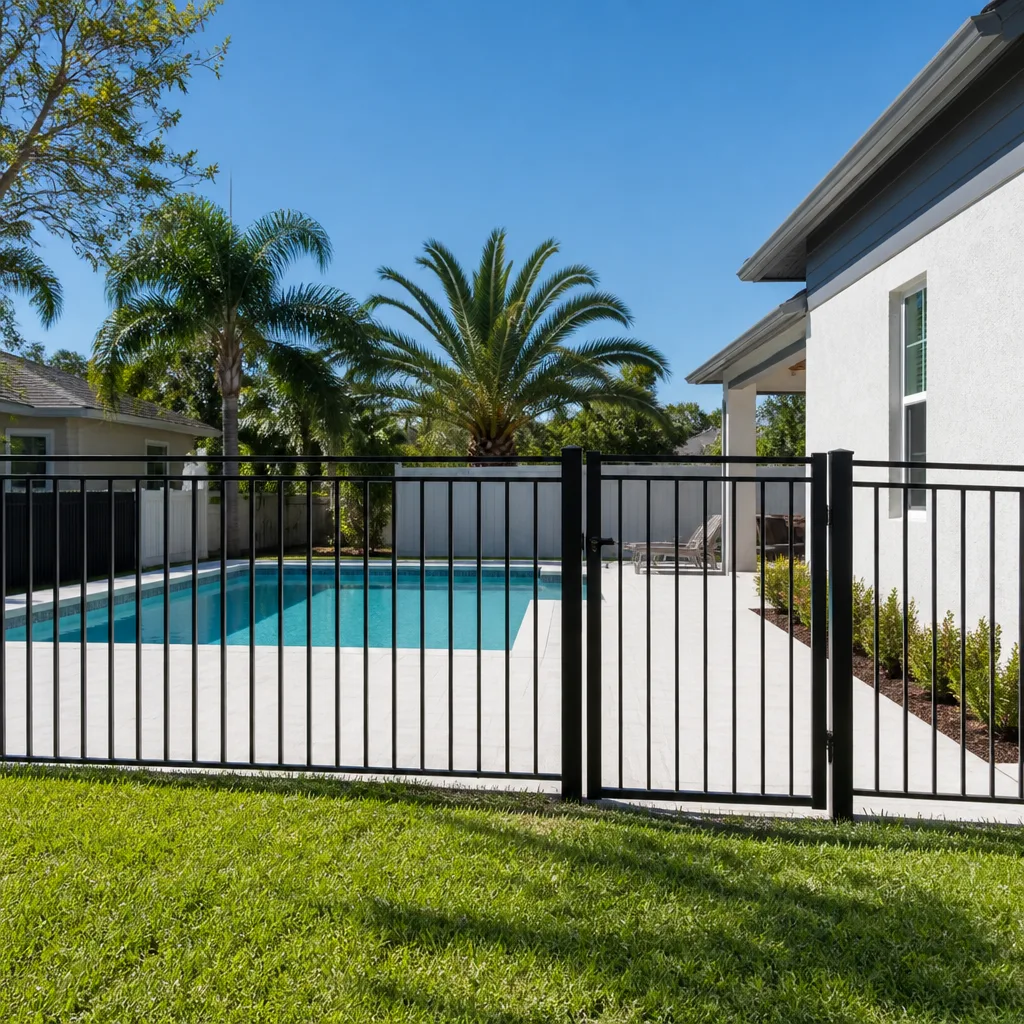
Fence failures are post failures, and the collar is the reason posts fail. Probe at grade with a screwdriver, run a plumb check above grade, and sight down the top rail – those three tests separate a $40 rail repair from a $300 post replacement from a $25 gate fix. Untreated pine in Santa Rosa fails in 4 – 6 years, pressure-treated in 12 – 18, cedar in 15 – 20, and a flat collar shortens every one of those numbers. Repair the right component and the repair holds. Repair the wrong one and you’ll be back in 18 months. A written price with line items, a signed change order for any variance, and a documented photo record on every visit – that’s what a repair should look like before anyone picks up a tool.
Written by the team at Rowan Construction Group Santa Rosa.
See the difference
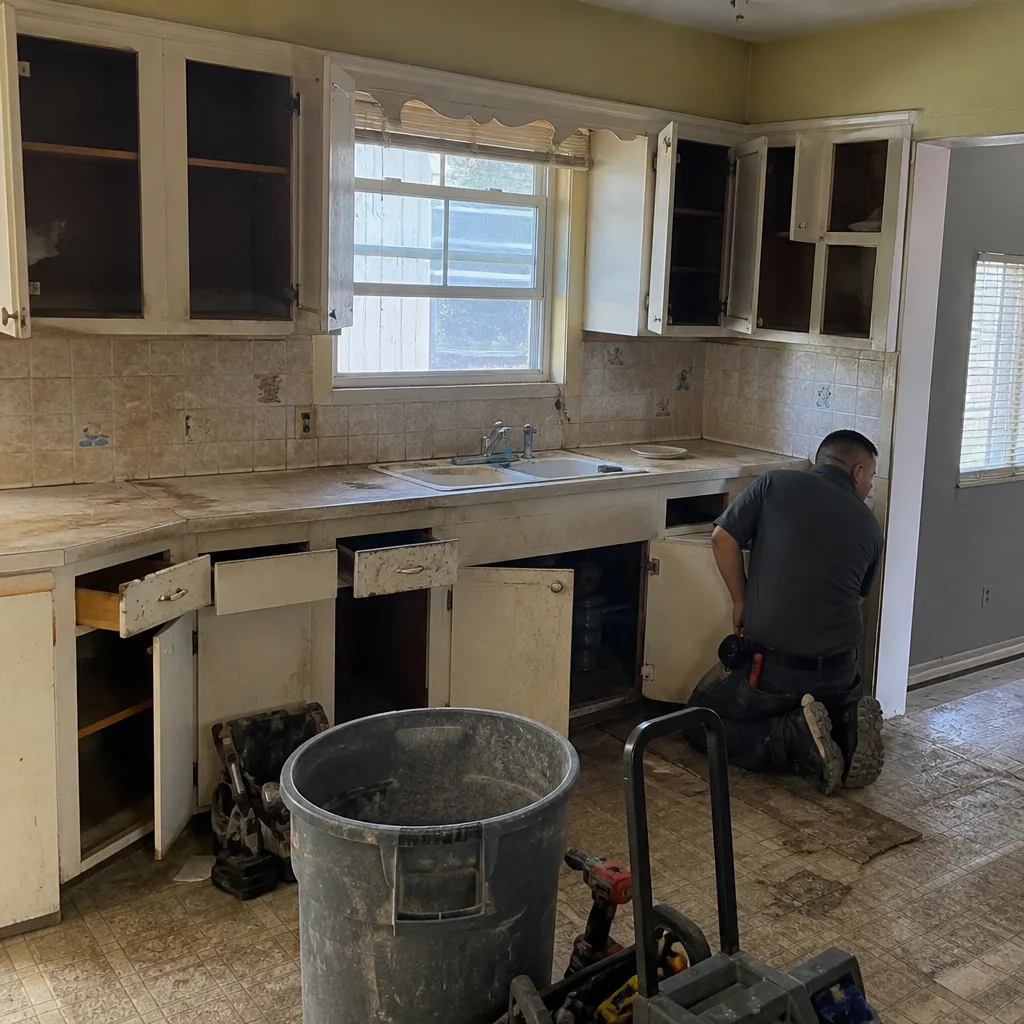 Before
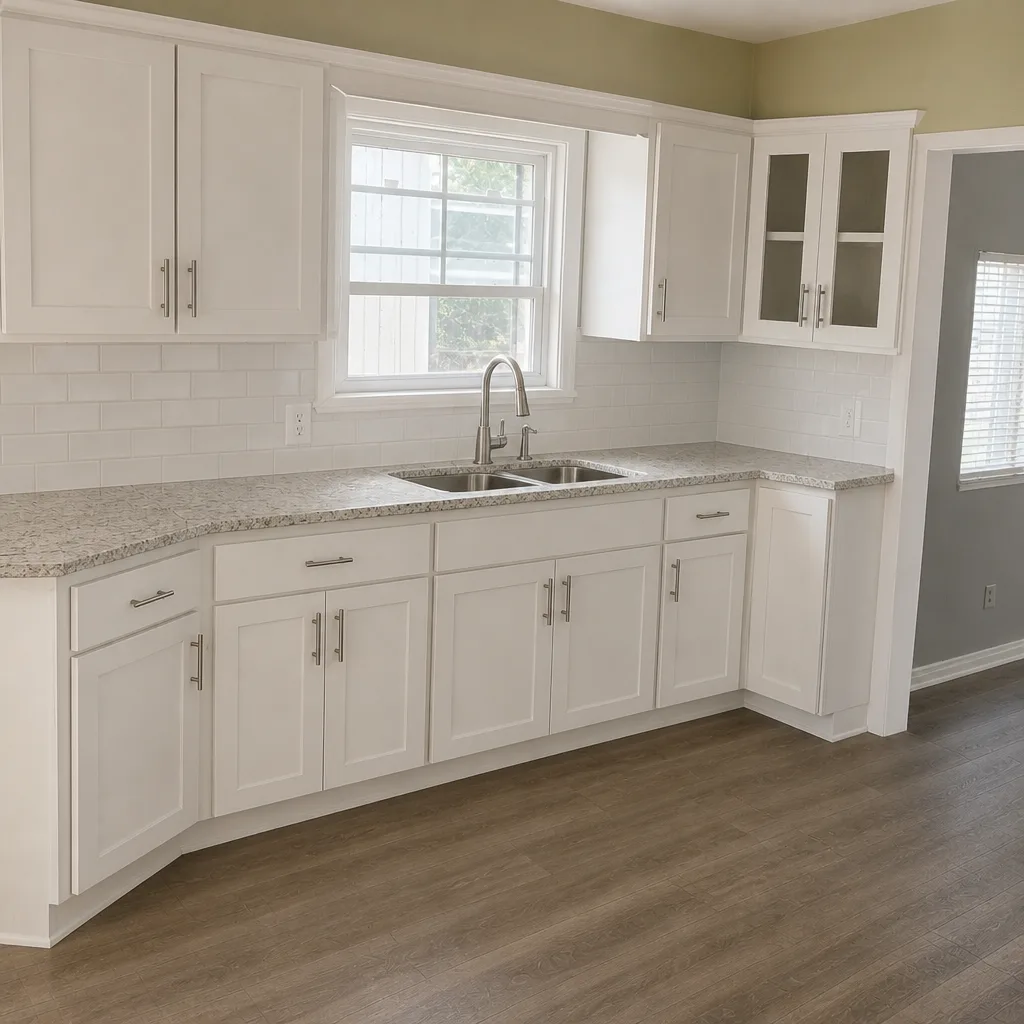 After
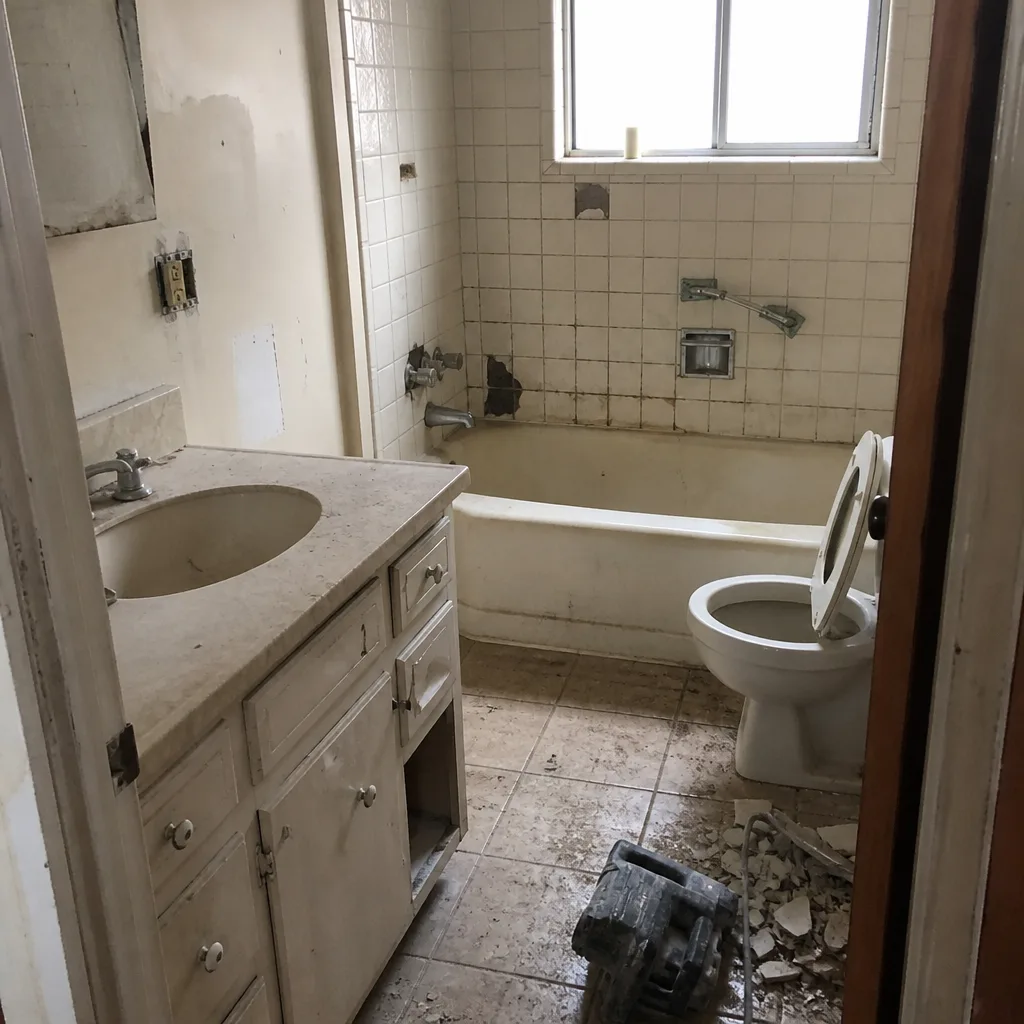 Before
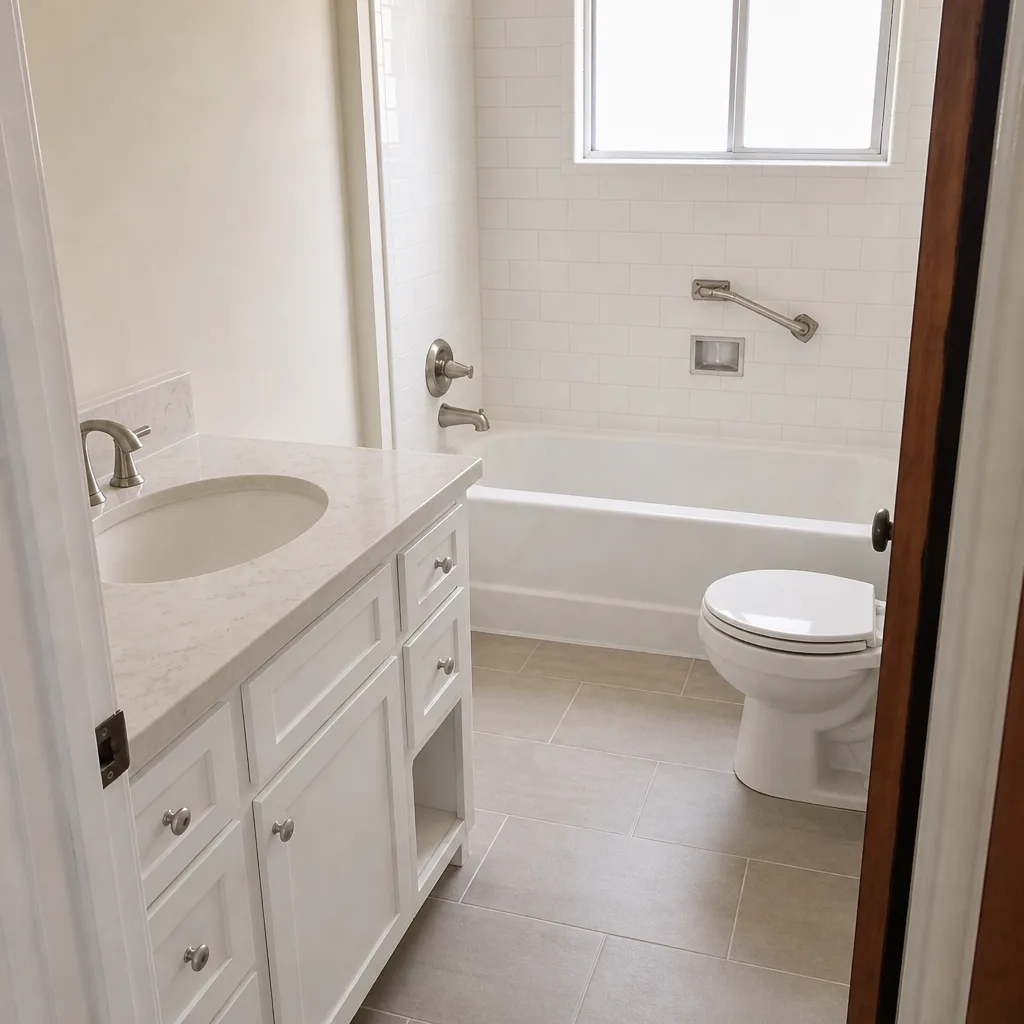 After
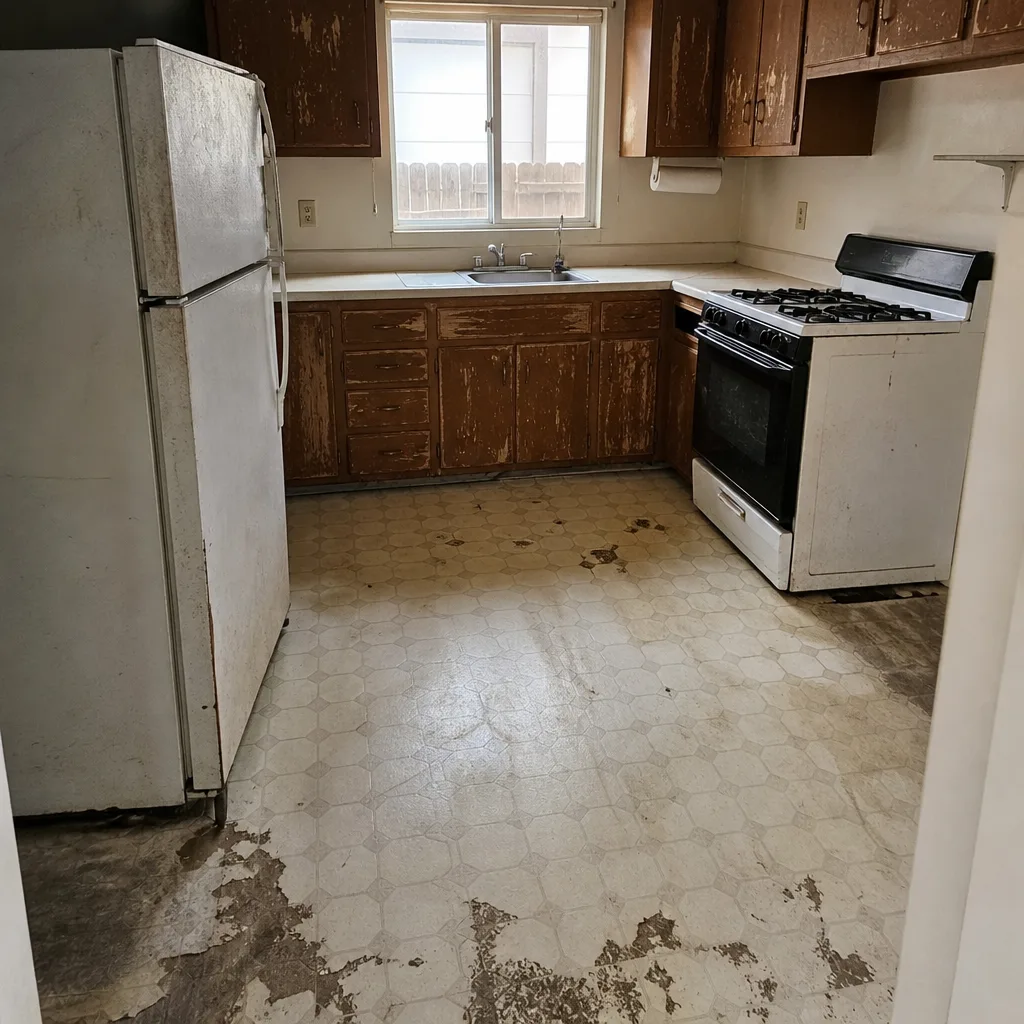 Before
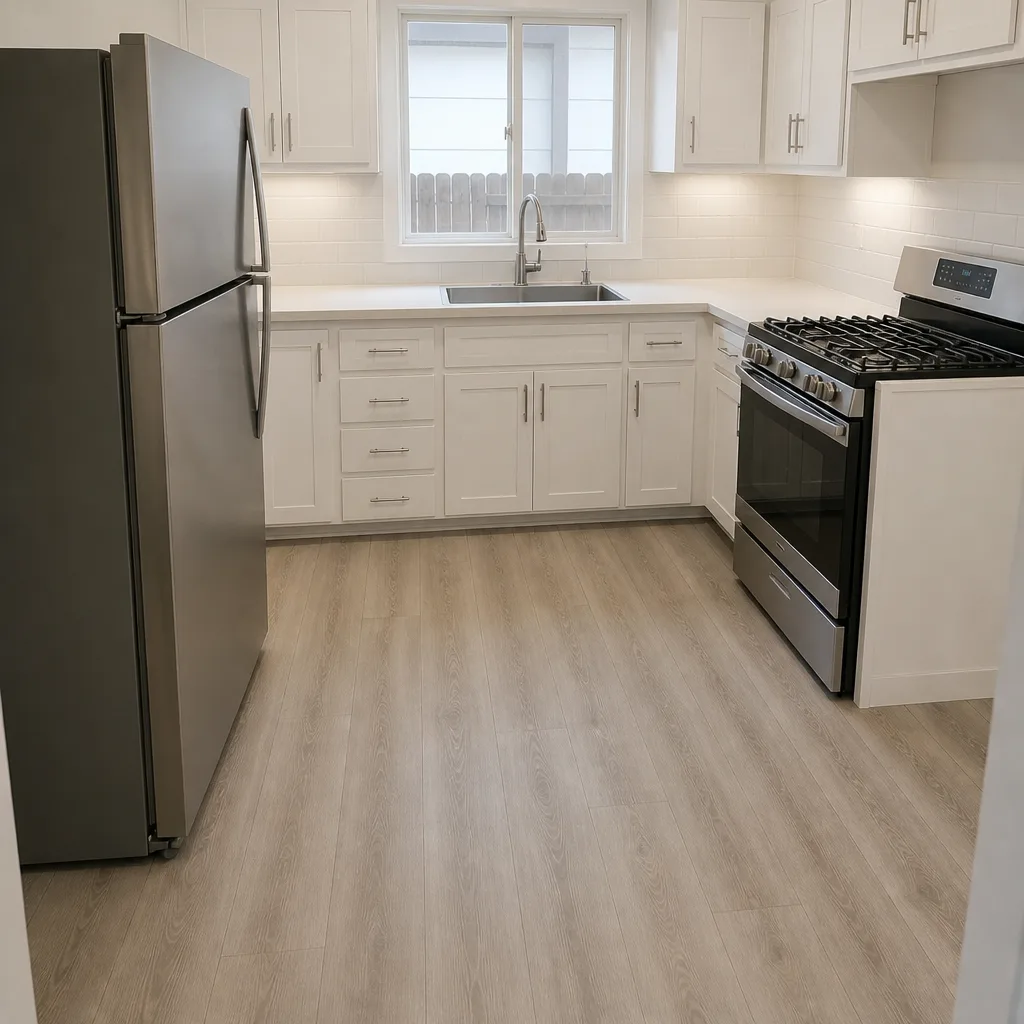 After