Last updated November 17, 2026



Free written scope consultation - allowances, timeline, and change-order rules on paper before a single trade is scheduled
Windows & Doors Warning Signs Every Homeowner Should Know
Water intrusion from a window installed without proper head flashing usually shows up as a stain on the interior drywall 8 to 14 months after installation. By then the framing cavity behind that stain has already begun to rot, the crew is long gone, and the repair bill includes sheathing, insulation, and possibly a new window unit. We’ve opened walls in Santa Rosa’s older bungalows and found exactly this: a brown ring on the ceiling below a bedroom window, black framing behind it, and a homeowner who did nothing wrong except trust a job they couldn’t see. This guide covers the signs that a window or door installation is going wrong while it’s still fixable, with the specific tests and pass/fail checks to run before trim and drywall close the evidence away for good.
Quick Answer
The warning signs of a failing window or door installation are mostly invisible until the first wet season: missing or wrongly sequenced flashing tape, fasteners driven into sheathing instead of structural framing, a unit shimmed out of plumb by more than 1/8 inch, and weep holes sealed shut with caulk. Every one of these can be caught during installation or in the days after by testing before interior trim goes up. Waiting for a stain to appear means waiting 8 to 14 months, and by then the damage has spread behind the wall.
Table of Contents
- The Invisible Failure: Why Water Damage Shows Up 8 to 14 Months Later
- During-Installation Inspection Checklist: Pass/Fail Criteria
- The Shingle Order of Flashing Tape (and Why Reversing It Fails)
- The Hose Test: How to Check Head Flashing Before Trim Goes Up
- Contractor Red Flags Specific to Window and Door Work
- Improperly Sized Headers: Signs the Door Opening Is Moving
- Post-Installation Checks Before Final Payment
- Warning Signs After the Installation Is “Finished”
The Invisible Failure: Why Water Damage Shows Up 8 to 14 Months Later
A window is not a wall decoration. It’s a hole in a weather barrier, and the weather barrier is the only thing standing between Santa Rosa rain and the wood that holds your house together. When the hole is closed badly, the failure starts immediately but stays hidden. Water wicks in behind the exterior trim, travels along the top plate, soaks into the framing, and doesn’t surface on interior drywall until the moisture load has built up enough over a full wet season to bleed through. In Santa Rosa, where the rainy season runs roughly November through March, a summer installation that gets flashed wrong will typically show its first interior stain the following fall or winter.
Here’s what we’ve learned from taking apart failed installs: the visible stain is the last symptom, not the first. By the time water reads on a stud cavity, the mold has already started, the sheathing has softened, and the window’s own warranty is usually void because the installer voided it the day they skipped the flashing tape. The good news is that almost every defect that causes this happens on a visible, testable surface before the trim and drywall cover it. That’s the whole premise of this guide, and it’s the reason Rowan Construction Group Santa Rosa home documents each window opening with photographs before the wall closes.
Key takeaways from this section:
- The stain is the symptom; the fix happens months earlier or not at all.
- Santa Rosa’s wet season is the test the installation either passes or fails.
- Every failure mode below is checkable in the field before trim and interior finishes go up.
During-Installation Inspection Checklist: Pass/Fail Criteria
The best time to catch a window or door problem is while the installer is still on site and the framing is open. Walk it with them at the end of each day. These are the specific checks and what a passing result looks like:
- Flashing tape sequence. Sill first, then jambs, then head. Pass: tape laps so water always flows over the sealant and never under it, with each piece lapped over the one below. Fail: any tape reversed, any head tape lapped under a jamb.
- Plumb and level. Pass: the unit is plumb and level within 1/8 inch over its full height. Fail: more than that, and the sash will bind within a season.
- Shim placement. Pass: shims at the sill at the operating hinge points and directly below the gap at the head; the unit carries load without twisting. Fail: shims only in the middle, allowing the frame to sag.
- Fasteners into structural framing. Pass: screws or nails bite into studs or jack framing, not just into the sheathing or the nailing fin. Fail: fasteners stopping after a 1/4 inch of bite, or fired into OSB with no stud behind it.
- Weep holes. Pass: every sill weep hole is open and clear. Fail: hidden or filled with exterior caulk.
- Exterior sealant joints. Pass: complete fill with no void, no gaps at corners, and a proper backer behind deep joints. Fail: a smear-over that looks sealed but isn’t.
- Photo record. Pass: photographs of each opening at each stage. Fail: no photos and a crew who “forgot.” This is precisely why every visit from our crews includes a documented photo record as a standard deliverable, not an upgrade.
If you’re not able to walk the job yourself, ask the builder or installer for the photographs. Any contractor who can’t produce them hasn’t documented the work, and that’s a warning sign before you ever see water.
The Shingle Order of Flashing Tape (and Why Reversing It Fails)
Flashing tape, sometimes called window flashing membrane, comes in rolls and sticks to the wall and the window unit. The rule that governs how it goes on is the same rule that governs a shingle roof: water always sheds downhill, and every layer overlaps the layer beneath it. That means the correct order is sill first, then jambs, then head last. The sill tape goes on the bottom of the rough opening, dressed down over the wall below. The jamb tapes go on next, lapped over the sill tape. The head tape goes on last, lapped over the jamb tapes.
Reversing that order is one of the most common defects we find on third-party installs in Santa Rosa. When the head tape is applied first and the jamb tapes are lapped over it, the vertical joints sit on top of the horizontal head tape, and water can find a path behind the jambs at the very point where the sealant is thinnest. It’s a quiet failure: nothing looks wrong, the window is plumb, the caulk joint is clean. But the cavity is now on a countdown to the first wet season.
Why the Sill Matters as Much as the Head
The head flashing stops most of the water, but the sill is what catches anything that gets past it. If the sill tape is missing or the window is set in a bed of caulk instead of on tape, water that pools on the sill has nowhere to go but inward. In our experience, sill failures show up first on the wall below the window inside the room, not on the window itself.
The Hose Test: How to Check Head Flashing Before Trim Goes Up
The hose test is the single most useful thing you can do before interior finishes cover the evidence. It’s a field check any homeowner can run, and it’s done while the window is installed but trim and drywall are still open.
- Run a garden hose at a low, even spray at the top of the window unit, aimed at the head flashing joint. No pressure washer, no high-pressure jet.
- Hold the spray for a full 60 seconds. Move it slowly along the head from one corner to the other.
- Go inside. With the rough opening still open, look at the framing below the head, along the jamb, and at the sill. A passing window shows no water on the framing, no dampness at the sheathing, and no drips at the interior corner of the opening.
- Repeat at the jamb joints and the sill, 60 seconds each.
- Mark the date, take photos, and keep them with the job records. The photos are your evidence if something fails later.
This test should be performed after the flashing tape is set and before the interior trim is installed, because the trim hides everything you’re testing. On a new addition or a window replacement in Santa Rosa, schedule the test for a dry day and let the area dry completely afterward. A window that fails the hose test has a flashing defect, and the fix is re-taping the joint before anything else gets closed in. We make this test part of the written scope on every opening our crews install, and the results go into the photo record.
Contractor Red Flags Specific to Window and Door Work
The signs start before the work does. Window and door installation has specific tells that a contractor is guessing, and the bids and scopes give them away:
- A quote with no measurement. A real window quote requires actual rough opening dimensions, measured on site. If the contractor never opened a tape measure in your house and quoted off a photo or an old listing picture, the numbers are a guess and the fit is a gamble.
- No mention of flashing materials in the written scope. If the scope lists windows and labor and stops there, flashing tape, sealant, and backer rod aren’t in the price. They’ll either be skipped or added later.
- No allowance for shimming or trim adjustment. A rough opening is not always square; shimming and trim adjustment are part of the job. A bid with no line for them is a bid that will either cut corners or come back for a change order.
- Weather days not handled in writing. Anyone promising a window install on a specific day regardless of rain in Santa Rosa’s wet season is telling you they’ll tape in the rain. A written scope addresses weather days.
- No written price. “Call for a quote” is a warning sign on its own. A window install is a fixed scope with a fixed number on a piece of paper before anyone starts. Under Clause 1 of the Haven Standard, the price is written before anyone picks up a tool, and that’s the standard we hold every crew to.
- No documentation commitment. Ask what documentation you’ll receive when the crew leaves. If the answer is “the invoice,” the crew isn’t documenting anything.
Line-by-line comparison is the fastest way to see these gaps. If you’ve got a bid in hand and you’re not sure what’s missing, our Driveway & Pavers in Santa Rosa team isn’t the right desk for it, but our window and door crews will take a competitor’s written estimate and review it line by line at no charge. That’s a standing offer, not a sales tactic.
Improperly Sized Headers: Signs the Door Opening Is Moving
When a door is new or a doorway has been enlarged, the opening needs a properly sized header above it. A header is the horizontal beam that carries the load of the wall above and transfers it around the opening. Too small, or too short, and the opening slowly Racks, or twists, under roof load. It’s not a subtle failure once it starts, but the early signs are easy to miss:
- Door frame racking under roof load. The door no longer sits square in the frame; corners bind and the door latches on one corner but not the other.
- Drywall cracks forming at the upper corners of the opening. These usually appear within 6 to 12 months of the install. If your painter had to touch up a corner crack twice, suspect the header.
- The door swings itself. It stays open at some angles and swings itself shut at others, because the jamb is now out of plumb.
- A door that won’t close without a shove in dry weather, and sticks harder after a wet spell, as the framing takes on moisture.
A header is a structural item, and getting it wrong is a safety and permitting problem, not a cosmetic one. If you’re planning an enlarged door opening or a new one, the header size needs to match the span and the load. In Santa Rosa, that means the permit drawings include the header schedule and the inspector checks it before the wall closes. If you’re adding a new opening as part of a bigger project, we walk the header and framing schedule as part of Home Additions & ADU in Santa Rosa before the finish trades ever start.
Post-Installation Checks Before Final Payment
The final walkthrough is your last clear moment to catch a defect before payment. Run these checks before you sign anything, and don’t sign until they pass:
- Operate every window through its full range. Open every window and door fully. Listen for a scrape, feel for a bind at one end of the travel. Anything that binds on day one will worsen.
- Check every exterior caulk joint for complete fill. Run a finger along each joint. A proper sealant joint fills the gap; a poor one looks sealed but pulls away. Look for voids, gaps at corners, and sealant that was smeared over wet tape.
- Confirm weep holes are open. The small slots in the sill of the exterior sash are weep holes, and they drain the sill pan. A common installer shortcut is to run caulk over them. Every weep hole must be open and clear.
- Look for gaps at head and jamb flashing. With the interior trim still off (if any trim is being added), look for daylight. There shouldn’t be any.
- Confirm the documentation. Photos of every opening, a written scope, and a written warranty. If it’s not documented, it didn’t happen as far as a warranty claim goes.
- Verify permits and inspections. On a new opening or an exterior door, confirm the permit was pulled and the inspection passed. Under our practice, permits are pulled and inspections passed before we submit a final invoice.
If the crew hasn’t been able to walk the job with you, or the photos don’t cover each opening, hold the final payment until they can. A good contractor won’t mind. A bad one will push back.
Warning Signs After the Installation Is “Finished”
Some defects don’t show up until the first rainy season, and the signs after the fact deserve their own list. Watch for these in the months after a window or door install, especially in Santa Rosa’s older neighborhoods where the framing has already been through quite a bit:
- Staining on interior drywall or ceiling below a window or door head. This is the classic late symptom: 8 to 14 months out, a brown ring, a soft spot, a paint blister.
- Peeling or blistering paint on the interior wall below the window. Paint traps moisture, then tells you about it.
- Frost or condensation on the interior glass in cold weather. Some condensation is normal; heavy ice build on an interior sash suggests a broken seal or a badly set unit.
- Daylight visible at the edges of a closed interior door. A gap that appears over one season suggests the frame is moving.
- Draft at the closed window or door. Run a hand around the edges on a windy day. A draft at the jamb means a seal gap.
Any one of these is worth a call to the installer before the warranty window closes. If the installer is gone, a second-opinion inspection is the next move.
We’ve seen what happens when a family waits for the second wet season. The first stain is free to fix; the second one is not.
Common Mistakes to Avoid
- Skipping the hose test to save a day. The hose test is 60 seconds per opening and can catch a flashing defect before the wall closes. Skipping it saves a day and risks the framing.
- Letting the crew caulk over the weep holes. Weep holes are the sill’s drainage path. Caulk in the weep hole is a common shortcut, and the water has nowhere to go but inward.
- Accepting a quote with no measurement. A window measured off photos will not fit the rough opening, and the fix is a change order at the price of a new unit.
- Ignoring drywall cracks at the upper corners of a door opening. A corner crack within 6 to 12 months of an install is a symptom of a moving header, not a paint problem.
- Paying the final invoice without the photo record. The photos are your proof if something fails later. No photos, no evidence, and a much harder warranty claim.
- Letting the crew install during rain. Flashing tape and sealant need a dry, above-freezing surface. In Santa Rosa’s wet season, a written weather-day plan is not optional.
- Assuming a “lifetime” window warranty covers installation. Window warranties typically cover the unit, not the labor and not the flashing. The install and the flashing need their own written warranty.
When to Call a Professional
These are not homeowner-level fixes. Call a professional when the flashing tape sequence is wrong, when the head flashing has no tape at all, when water has already shown on the interior drywall, when a door has begun to bind after an install, or when a corner crack has appeared on a wall above a newly enlarged opening. Window and door work has one genuinely dangerous element at the exterior, and it’s height: if the opening is above the first floor, the work belongs to people with the right fall protection and the right insurance. Call us before you climb a ladder. Rowan Construction Group Santa Rosa offers free estimates in Santa Rosa. Our technicians have up to 19 years of experience, and the crews are background-checked and uniformed with a live person answering calls 24/7. Call (833) 842-1866.
Frequently Asked Questions
Water intrusion from a window installed without proper head flashing typically shows up as a stain on interior drywall 8 to 14 months after installation. In Santa Rosa, that means a summer install that fails will usually show its first interior stain the following fall or winter, after the first wet season. Call (833) 842-1866 for a free estimate on a second-opinion inspection, and don’t wait for the second stain.
A correctly flashed window has sill tape first, jamb tape second, and head tape last, with every piece lapped so water sheds over the sealant and never under it. The unit should be shimmed plumb within 1/8 inch, fasteners should bury into structural framing rather than just sheathing, and every weep hole should be open. If the head tape is on first, the flashing sequence is reversed and the job is set up to fail.
Yes. Run a garden hose at low, even spray on the head flashing for 60 seconds, then go inside and look at the framing below the head, along the jambs, and at the sill. Any dampness or dripping means a flashing defect. Repeat at the jambs and sill. Run it on a dry day, before interior trim and drywall close the opening.
Our second-opinion inspection is free on any written estimate a homeowner brings us. We’ll review a competitor’s quote line by line at no charge, and if we find a flashing, shimming, or header issue, we’ll tell you what the fix looks like in plain terms. Call (833) 842-1866 to schedule a free estimate.
Yes. A new or enlarged door opening changes the structural framing, so it needs a permit and an inspection to confirm the header is sized correctly and the framing is sound. In Santa Rosa, the inspector checks the header schedule before the wall closes. A contractor who suggests skipping the permit on a new opening is telling you something about how the rest of the job will go.
Before you pay, operate every window and door through its full range and confirm no binding, run a finger along every exterior caulk joint to confirm complete fill, confirm every weep hole is open and free of caulk, and ask for the photo record of every opening. Confirm permits were pulled and inspections passed. If any of those fail, hold payment until the crew corrects it. Call (833) 842-1866 for a free estimate on any repairs.
A Note on Other Exterior Openings
The same discipline applies to other exterior transitions around the house, not just windows and doors. A poorly set gate post or an exterior door that doesn’t seal at the threshold is how water gets into a garage or under a siding line, and it shows up as swelling and rot months later. It’s the same reason we walk Fence Installation in Santa Rosa with the same fix-in-writing-before-work-starts discipline as window work.
The Bottom Line
Windows and doors are the openings where a house holds its weather line, and the failures that matter are the ones you can’t see until the first wet season. The fix is candor during installation, not repair afterward. Run the checklist, run the hose test, and take the photos before the wall closes. A written scope, a written price, and a written warranty before anyone picks up a tool is how a good install stays a good install. If you’re not sure what you’re looking at, get a second opinion from someone who puts their findings in writing and shows you the photos. The 365-Day Done Right Promise means if it’s not done right, we make it right, and that promise is printed on every page for a reason.
Rowan Construction Group Santa Rosa is a construction contractor connecting Santa Rosa homeowners with independent local professionals across seven trades, from windows and doors to roofing and additions. Every project gets a written scope and a flat written price before work starts, and our technicians have up to 19 years of experience. Call (833) 842-1866 for a free estimate.
Written by the team at Rowan Construction Group Santa Rosa.
Styles & brands we work with
- Kitchen remodeling
- Bathroom remodeling
- Home additions & ADU
- Roofing
- Windows & doors
- Driveway & pavers
- Fence
See the difference
 Before
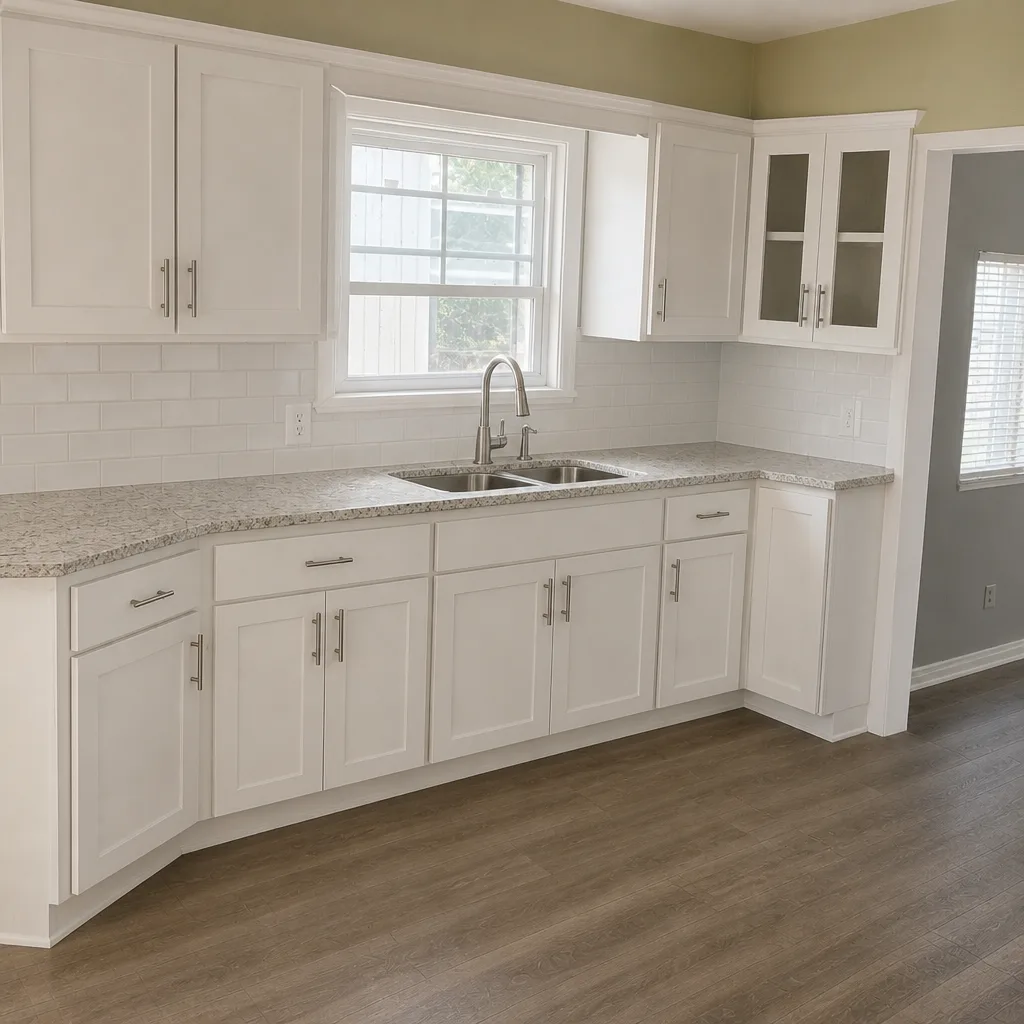 After
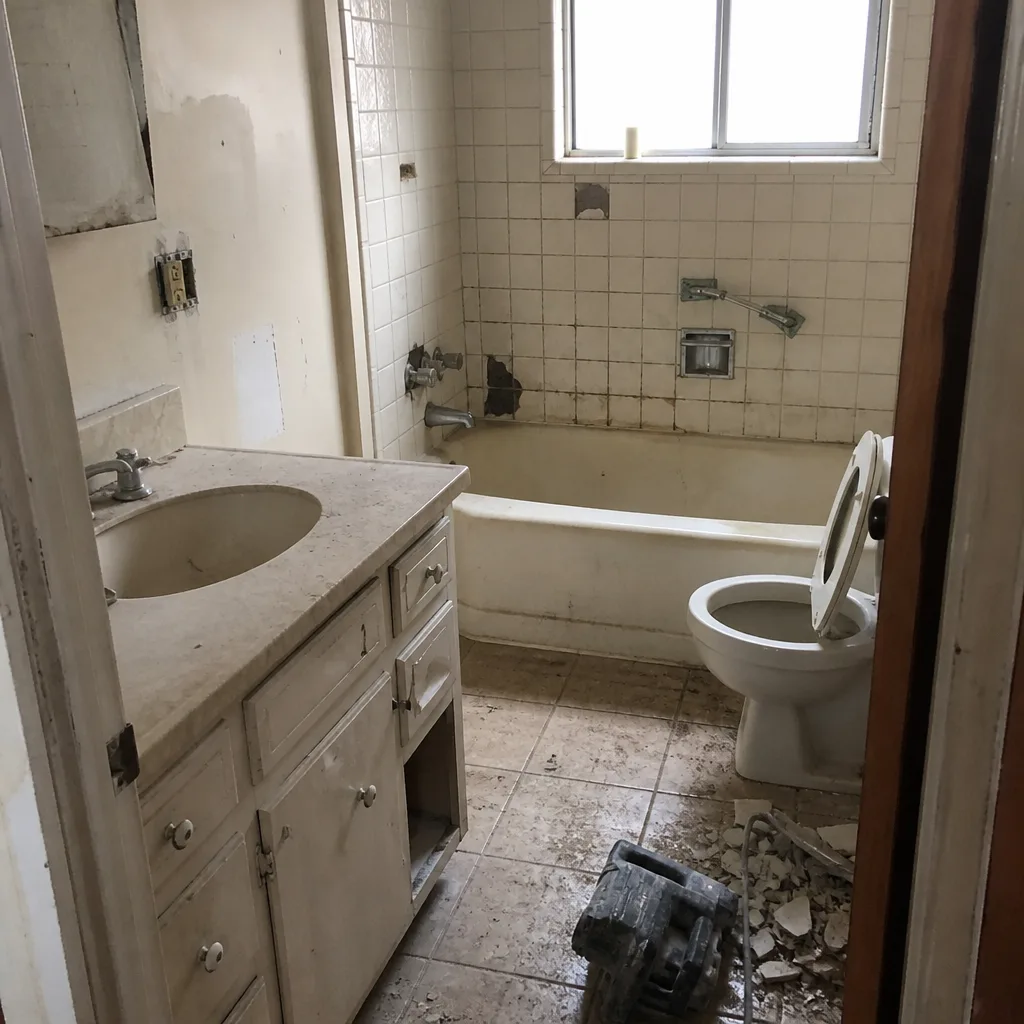 Before
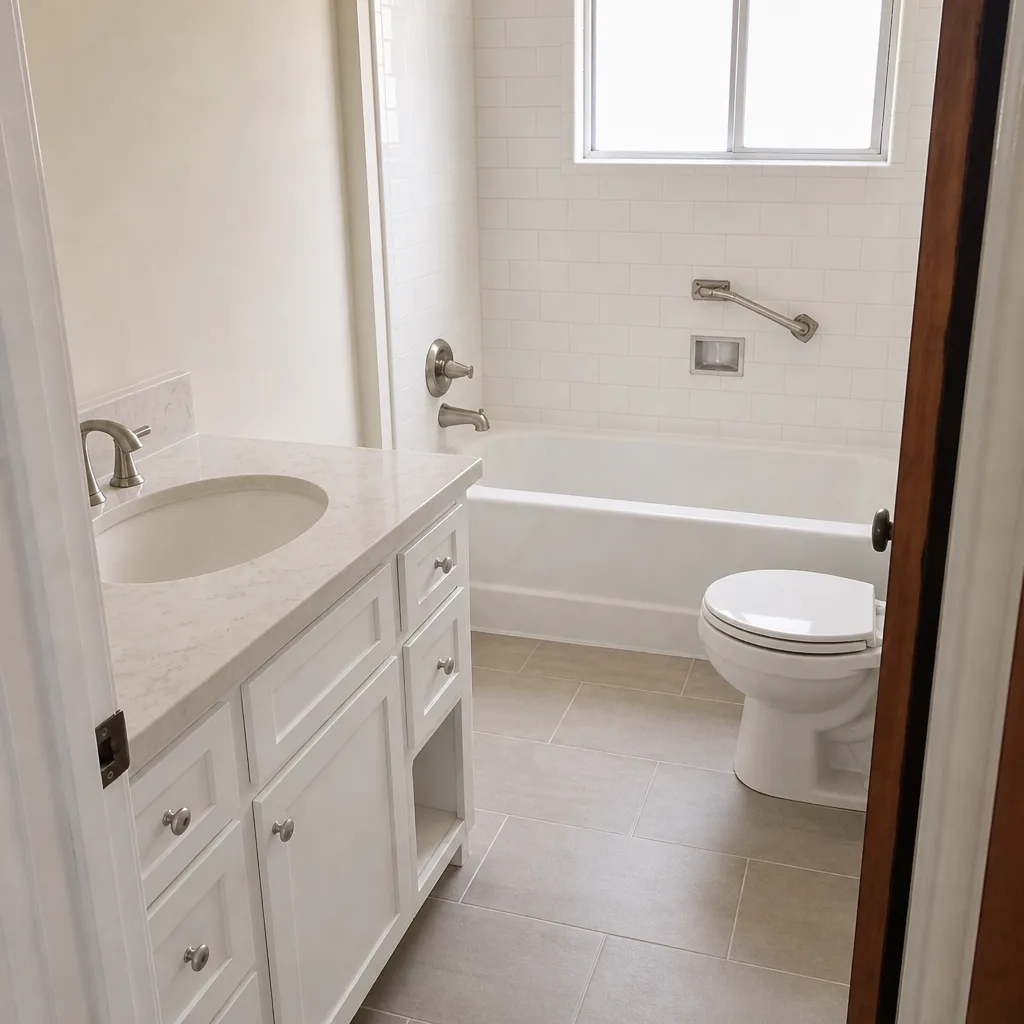 After
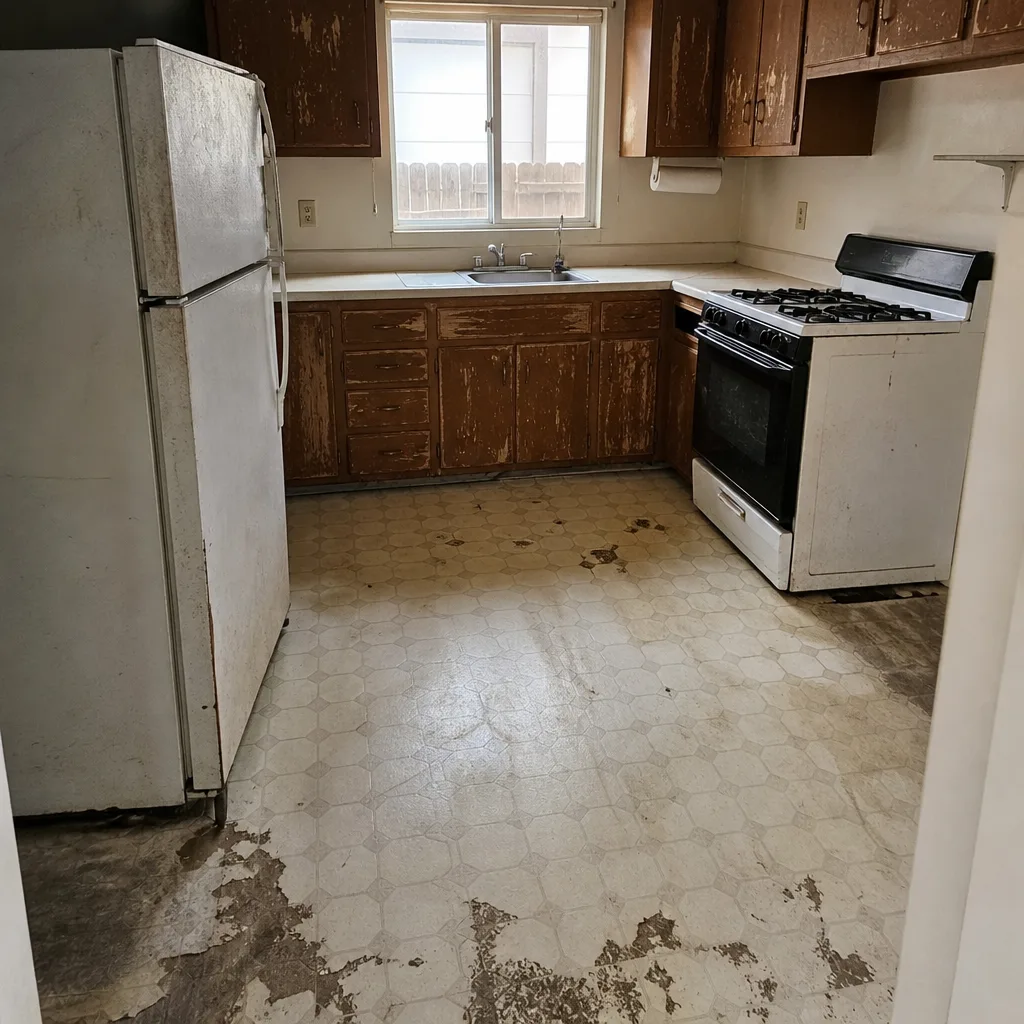 Before
 After